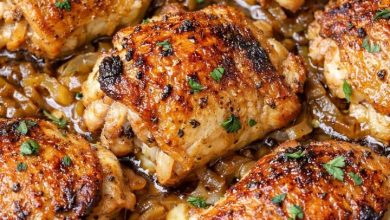
Crispy Golden Chicken
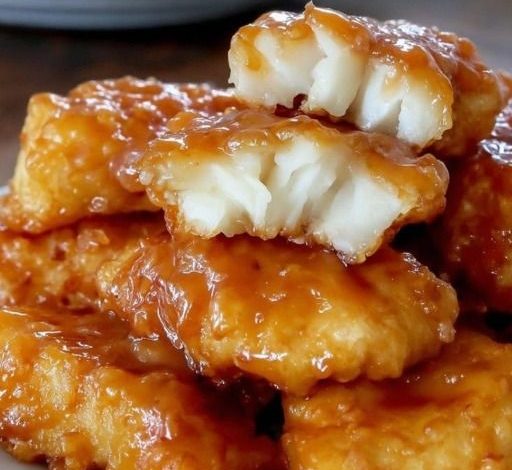
This Crispy Golden Chicken is the ultimate masterclass in comfort food engineering. By submerging your bone-in, skin-on chicken pieces in a rich buttermilk marinade, the natural lactic acids tenderize the meat fibers while infusing deep moisture. The magic continues in the dredging bowl, where standard flour is elevated with a perfect spice blend of paprika, garlic, onion, and a kick of cayenne. When dropped into hot oil, the buttermilk-hydrated flour coating fries up into a shatteringly crisp, deeply golden crust that seals in all the succulent juices. It is a foolproof method for achieving restaurant-quality fried chicken right at home.
ADVERTISEMENT
Crispy Golden Chicken
Ingredients:
| Ingredient | Quantity |
| Bone-in, skin-on chicken (legs, thighs, or breasts) | 4 / pieces |
| Buttermilk (for marinating) | 2 / cups |
| All-purpose flour | 1 / cup |
| Paprika | 1 / teaspoon |
| Garlic powder | 1 / teaspoon |
| Onion powder | 1 / teaspoon |
| Salt | 1 / teaspoon |
| Black pepper | 1 / teaspoon |
| Cayenne pepper (optional) | 1/2 / teaspoon |
| Vegetable oil (for frying) | 2/3 / cups |
Step-by-Step Directions:
Step 1: The Buttermilk Marinade: Place your 4 pieces of bone-in, skin-on chicken into a large mixing bowl. Pour the 2 / cups of buttermilk completely over the top, using your hands or tongs to ensure every nook and cranny of each piece is thoroughly coated. Cover the bowl tightly and refrigerate for a minimum of 2 / hours (or preferably overnight for the most tender results).
ADVERTISEMENT
Step 2: Whisk the Seasoned Coating: In a separate wide, shallow bowl, combine the all-purpose flour, paprika, garlic powder, onion powder, salt, black pepper, and optional cayenne pepper. Whisk the dry ingredients vigorously together until the spices are completely distributed throughout the flour.
ADVERTISEMENT
Step 3: Fire Up the Oil: Pour your vegetable oil into a heavy-bottomed skillet or a deep fryer. Place it over medium-high heat and let the temperature rise steadily until it reaches exactly 350°F.
Step 4: Dredge and Press: Lift a piece of chicken out of the buttermilk bath, holding it over the bowl for a few seconds to let any heavy excess drip away. Transfer the chicken directly into the seasoned flour mixture. Turn it over to coat all sides, pressing down gently with your palms to ensure the flour clings securely to the wet buttermilk base. Repeat with all pieces.
A Friendly Kitchen Note: For extra-crispy, craggy ridges on your fried chicken, drizzle 1 / to 2 / tablespoons of the leftover buttermilk marinade directly into your dry flour bowl before dredging, flicking it around with a fork to create tiny, damp flour clumps. When pressed onto the chicken skin, these clumps fry up into magnificent, crunchy shards!
Step 5: The Golden Fry: Carefully lower the coated chicken pieces into the hot oil one by one, ensuring you do not overcrowd the skillet. Fry undisturbed for 12 / to 15 / minutes, turning the pieces over occasionally with tongs to ensure uniform browning.
Step 6: Drain and Rest: Once the crust turns a deep golden-brown and an instant-read meat thermometer inserted into the thickest part of the meat reads 165°F, carefully lift the chicken out of the hot oil. Transfer the pieces onto a wire cooling rack set over a baking sheet to drain off any excess surface oil, let them rest for 5 / minutes to allow the internal juices to redistribute, and serve hot!