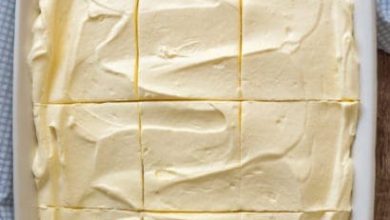
Nana beth made this when guests were already on the way—crispy top, jammy middle, no stress.
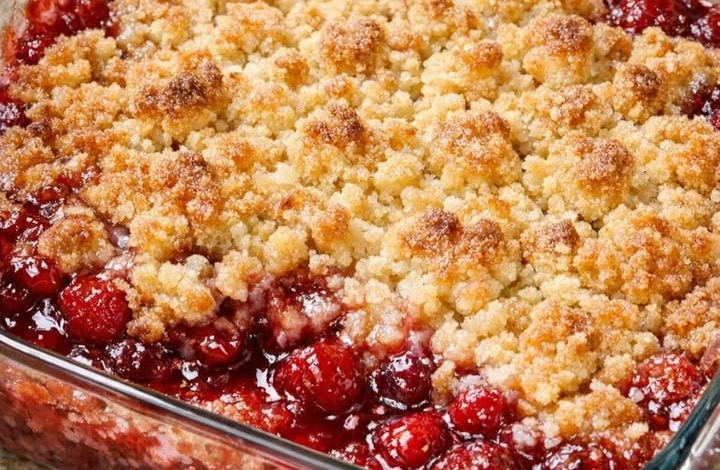
This Raspberry Dump Cake is the absolute epitome of high-reward, low-effort baking. By layering vibrant, jammy raspberry pie filling beneath a blanket of dry sweet cake mix and rich melted butter, you create a gorgeous cobbler-like dessert with practically zero kitchen prep. As it bakes, the bubbling fruit juices rise up to hydrate the cake mix from below, while the melted butter bakes the top into a shatteringly crisp, golden-brown cookie crust. It is a spectacular, vintage-style crowd-pleaser that eliminates the need for mixing bowls, beaters, or complicated rolling pins.
ADVERTISEMENT
Raspberry Dump Cake
Ingredients:
| Ingredient | Quantity |
| Raspberry pie filling | 2 / cans (21 ounces each) |
| Yellow cake mix (dry, unprepared) | 1 / box (15.25 ounces) |
| Unsalted butter (melted) | 1/2 / cup (1 stick / 8 tablespoons) |
| Nonstick cooking spray or extra butter (for greasing) | For / dish |
Step-by-Step Directions:
Step 1: Prep the Canvas: Preheat your oven to 350°F. Lightly grease a standard 9×13-inch clear glass baking dish with nonstick cooking spray or a thin coat of butter, ensuring the corners are well-coated.
ADVERTISEMENT
A Friendly Kitchen Note: Utilizing a clear glass baking dish is highly recommended here! It allows you to easily track the deep red fruit juices bubbling up under the golden crust as it handles, giving you that perfect nostalgic look.
ADVERTISEMENT
Step 2: Lay the Jammy Base: Pour both cans of raspberry pie filling directly into the bottom of the greased baking dish. Use a silicone spatula to spread the fruit into a perfectly even layer, ensuring it pushes completely into all four corners so every serving has an equal fruit-to-crust ratio.
Step 3: Blanket with the Cake Starch: Sprinkle the entire box of dry, unprepared yellow cake mix uniformly over the top of the raspberry filling layer. Do not stir or mix the layers together! Gently shake the baking dish or tap it flat against the counter to help the dry powder settle into a flat, edge-to-edge sheet that completely blankets the fruit.
Step 4: The Golden Butter Drizzle: Slowly and steadily drizzle your melted butter evenly across the entire surface of the dry cake mix. Try your best to target and moisten as much of the dry powder as possible, focusing heavily on the perimeter and any large dry patches. It is completely fine if a few tiny dusty spots remain untouched—these will naturally bake into extra-crispy, cookie-like bits.
Step 5: The Bubble Bake: Slide the baking dish onto the center rack of your preheated oven. Bake undisturbed for 35 / to 45 / minutes. You’ll know the dump cake is perfectly ready the exact moment the top canopy turns a deep golden-brown, the surface is crisp in spots, and the hot raspberry filling is bubbling vigorously up around the edges of the pan. The center should look completely set and baked, never dusty or dry.
Step 6: The Thickening Rest: Remove the hot dish from the oven and set it on a heat-safe surface. Let the cake cool and rest uncovered for 15 / to 20 / minutes before scooping into it. This brief pause is essential because it allows the molten fruit starches to settle and thicken slightly into a rich, jammy glaze while keeping the buttery crust perfectly crisp. Scoop deep through the layers and serve warm!