Wow, I never knew this!
Keeping your bathroom in good shape can sometimes feel like a big job. One thing that often goes wrong is the caulk, the stuff that seals gaps around your tub or sink, getting cracks. This is a common problem, and it can make your bathroom look bad. Plus, if you don’t fix it, water can get in and cause damage. My dad, who likes to fix things around the house, showed me a simple way to fix cracked bathroom caulk without taking it all out. This way saves you time, work, and money, and it’s great if you want to keep your bathroom looking good without doing a huge job.
ADVERTISEMENT
Why Cracked Caulk is a Problem
ADVERTISEMENT
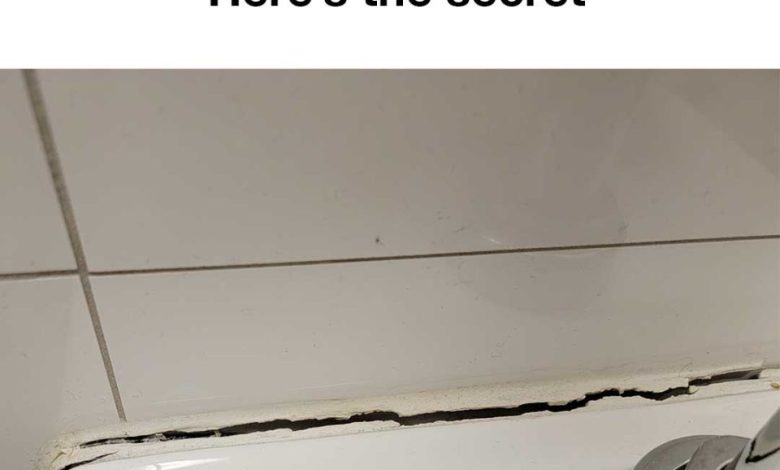
Cracked caulk happens a lot in bathrooms because of all the water and hot and cold changes. Over time, the caulk gets hard and doesn’t stick well anymore, which leads to cracks and holes. These cracks don’t just look bad; they can also let water get through, which can cause mold and damage to your walls or floor. It’s important to fix cracked caulk quickly to stop these problems from getting worse.
ADVERTISEMENT
What You Need to Fix the Caulk
To fix the caulk, you’ll need a few things: a tube of silicone caulk (try to get a color that matches your old caulk), a tool to smooth the caulk (or the back of a plastic spoon), a knife, rubbing alcohol, a clean cloth, and tape for painting. You can find these things at most stores that sell hardware. They will help you do a good job that lasts a long time.
How to Fix Cracked Caulk Step by Step
- Clean the area: Start by cleaning the cracked caulk with rubbing alcohol and a clean cloth. This gets rid of any dirt or soap, so the new caulk will stick well.
- Use tape: Put painter’s tape on the areas next to the crack. This will help you make clean lines and stop the caulk from going where you don’t want it.
- Put on the caulk: Carefully put a thin line of silicone caulk over the crack. Make sure it fills the gap completely.
- Smooth the caulk: Use a tool or the back of a spoon to smooth the caulk and get rid of any extra.
- Let it dry: Leave the caulk alone for at least 24 hours before you get it wet.
Why This Way Works Well
This way works well because you fix the problem right away without having to take out all the old caulk. By putting new silicone caulk over the cracks, you make a new seal that keeps water out. Silicone caulk is flexible and strong, so it’s good for places that get hot and cold and wet. This method saves you time and helps your bathroom caulk last longer.
More Tips and Things to Remember
- When you put on the new caulk, make sure your bathroom has good air flow, so the caulk can dry properly.
- Use good quality silicone caulk to make sure the fix lasts.
- If the cracks are very big or the old caulk is really bad, you might need to take it all out before putting on new caulk.
- Always read the instructions on the caulk tube to get the best results.
In Conclusion
Fixing cracked bathroom caulk doesn’t have to be hard. With the way my dad showed me, you can fix cracks quickly and make your bathroom look and work better. This easy way saves you time and money and helps stop water damage. By taking care of your bathroom caulk, you can keep your bathroom clean, safe, and nice for many years.