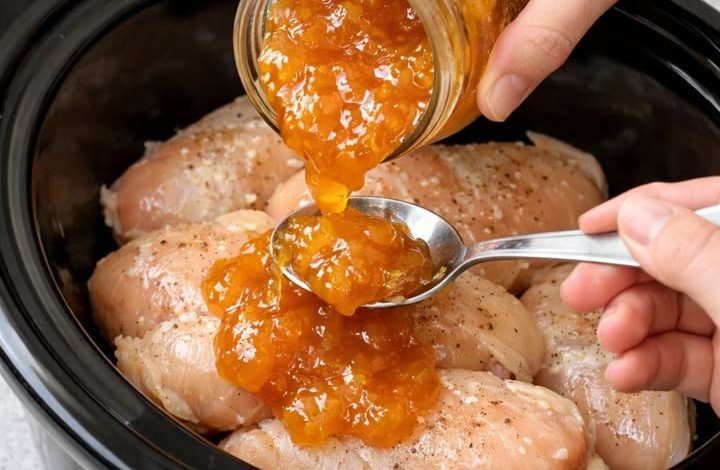
Pour apricot preserves over chicken, plus just 1 extra item, into slow cooker for a meal that disappears faster than anything else I put on the table
This Slow Cooker 3-Ingredient Amish Apricot Chicken is a masterclass in enzyme-driven tenderization and aromatic dehydration-rehydration. By pairing apricot preserves with a dry onion soup mix, you create a high-viscosity “glaze-base” that utilizes the natural pectins and sugars of the fruit to lock in the chicken’s moisture. As the slow cooker heats, the dehydrated onions in the soup mix absorb the chicken’s juices, rehydrating into savory umami bombs that balance the intense sweetness of the preserves.
ADVERTISEMENT
Slow Cooker 3-Ingredient Amish Apricot Chicken
Ingredients:
| Ingredient | Quantity |
| Chicken breasts (boneless, skinless) | 2 lbs |
| Apricot preserves | 1 1/2 cups |
| Dry onion soup mix | 1 packet (1 oz) |
Step-by-Step Directions:
Step 1: The Protein Base: Place the chicken breasts in an even layer at the bottom of the slow cooker.
ADVERTISEMENT
Tip: Ensuring a single layer is a thermal necessity. If the chicken is stacked too high, the center pieces will steam in their own moisture rather than braising in the sauce, resulting in uneven flavor distribution and a rubbery texture.
ADVERTISEMENT
Step 2: The Glaze Emulsion: Whisk the apricot preserves and dry onion soup mix in a small bowl until thick and chunky.
Tip: Mixing these two ingredients before adding them to the pot is a vital mechanical step. If you sprinkle the dry soup mix directly onto the wet fruit on the chicken, the salt and onions may clump, leading to “salt-hotspots” in the final sauce rather than a uniform savory-sweet glaze.
Step 3: The Laminar Coating: Pour the mixture over the chicken, ensuring each piece is fully coated.
Note: The preserves should act as a “blanket.” This is a structural necessity; the high sugar content creates a protective barrier that prevents the outer fibers of the chicken from drying out during the long cook.
Step 4: The Low-Duration Braise: Cook on LOW for 4/5 hours (or HIGH for 2 1/2 / 3 hours).
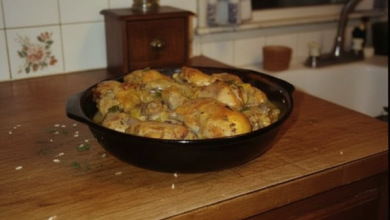
Note: The dish is finished when the chicken reaches an internal temperature of 165°F and the sauce has transitioned from a thick jelly to a pourable, translucent glaze with soft, savory onion bits.
Step 5: The “Glaze-Thickening” Rest: Optional: Crack the lid and let sit on WARM for 10/15 minutes.
Tip: This rest is a “viscosity” necessity. By cracking the lid, you allow a small amount of steam to escape, which reduces and concentrates the sauce, turning it into a “sticky” glaze that clings to the chicken rather than running off.