Italian Ricotta Pie
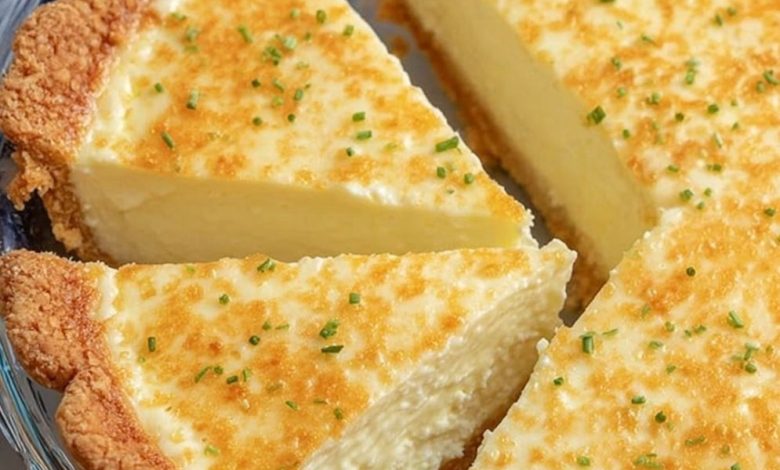
This Italian Ricotta Pie is a masterclass in protein-bound custard coagulation and lipid-starch structural stabilization. By emulsifying whole milk ricotta cheese with eggs and a small, stabilizing fraction of all-purpose flour, you engineer a delicate, high-moisture baking matrix. When subjected to a 350°F environment, the egg proteins slowly denature and cross-link, wrapping around the water molecules trapped within the ricotta curd. Simultaneously, the wheat starches gelatinize to provide an internal scaffolding that prevents the custard from collapsing, while the volatile citrus oils in the lemon zest dissolve into the melting fats for a bright, aromatic finish.
ADVERTISEMENT
Traditional Italian Ricotta Pie
Custard Matrix & Aromatics Ingredients:
| Ingredient | Quantity |
| Whole milk ricotta cheese | 2 / cups |
| Granulated sugar | 3/4 / cup |
| Eggs (large) | 3 / units |
| All-purpose flour | 1/4 / cup |
| Vanilla extract | 1 / tsp |
| Lemon zest | 1 / lemon |
| Salt | 1/4 / tsp |
Structural Foundation & Garnish Ingredients:
| Ingredient | Quantity |
| Pre-made pie crust | 1 / unit |
| Fresh berries or powdered sugar (optional) | To / taste |
Step-by-Step Directions:
Step 1: The Thermal Prep & Shell Fitting: Preheat your oven to 350°F. Unroll your pre-made pie crust and press it gently into a 9-inch pie dish, crimping the edges to secure the perimeter.
ADVERTISEMENT
Tip: Ensure your pre-made pie crust is at room temperature before unrolling it into the dish. Trying to manipulate a cold, rigid crust will break the laminated fat layers mechanically, causing the dough to crack and tear along the corners of the pan.
ADVERTISEMENT
Step 2: The Cohesive Emulsion Blend: In a large mixing bowl, combine the ricotta cheese, sugar, eggs, vanilla extract, lemon zest, flour, and salt. Whisk or blend vigorously until the mixture is completely smooth, silky, and uniform.
Note: The filling should look pale yellow and entirely glossy, with no independent clumps of raw flour or stubborn, granular ricotta curds visible.
Step 3: The Geometric Stratification Drop: Pour the smooth ricotta emulsion directly into the center of the prepared pie crust. Use a flexible baking spatula to spread the mixture evenly to the edges and smooth the surface.
Tip: Tapping the filled pie pan gently against your countertop 2/3 times before baking is an excellent physical optimization step. This forces trapped macro-air bubbles to rise to the surface and pop, preventing unsightly fissures and structural cavities from forming inside the custard as it bakes.
Step 4: The Controlled Thermal Set: Bake the pie on the middle oven rack for 50/60 minutes.
Note: The pie is ready when the pastry edges are a deep golden brown, the filling puffs up slightly around the perimeter, and the center displays a soft, gentle jiggle (like set gelatin) rather than a loose, liquid wave.
Step 5: The Cryo-Syneresis Rest: Pull the pie from the oven and allow it to cool completely to room temperature on a wire rack. For the ultimate texture, transfer it to the refrigerator to chill for at least 2/3 hours before slicing.
Tip: The extended chilling phase is a vital structural and chemical milestone called starch retrogradation. As the temperature drops, the gelatinized wheat starches and dairy proteins tighten into a firm, cohesive crystalline lattice, allowing you to cut clean, sharp geometric wedges that don’t weep or sag onto the dessert plate.