My grandmother made this 3 ingredient depression era staple for breakfast every winter morning. Cheap, filling, and incredibly crispy on the outside with a soft comforting center.

This 3-Ingredient Fried Cornmeal Mush recipe is a brilliant demonstration of biphasic starch gelatinization and high-heat surface dehydration. By pre-hydrating yellow cornmeal in cold water, you prevent starch granules from swelling unevenly or clumping when exposed to thermal energy. Bringing the remaining liquid and salt to a boil induces total starch gelatinization, creating a dense, high-viscosity paste. Chilling this matrix triggers starch retrogradation, locking it into a rigid, easily sliced loaf. Finally, frying the slices in oil or bacon grease causes instant moisture loss on the surface, driving a rapid Maillard reaction that yields an ultra-crispy outer shell wrapped around a molten, pillowy center.
ADVERTISEMENT
3-Ingredient Fried Cornmeal Mush
Ingredients:
| Ingredient | Quantity |
| Yellow cornmeal | 1 / cup |
| Water (divided) | 3 / cups |
| Salt | 1 / tsp |
| Oil or bacon grease (for frying) | To / coat pan |
Step-by-Step Directions:
Step 1: The Slurry Pre-Hydration: Lightly grease a standard loaf pan or small square baking dish and set it aside. In a small mixing bowl, whisk together the cornmeal with exactly 1 / cup of the cold water until completely smooth.
ADVERTISEMENT
Tip: Pre-mixing the cornmeal with cold water is a vital structural requirement. If you drop dry cornmeal straight into boiling water, the exterior starches will gelatinize instantly, trapping dry, raw pockets of flour inside stubborn lumps. A cold slurry ensures every granule is independently hydrated before heating begins.
ADVERTISEMENT
Step 2: The Starch Gelatinization Boil: In a medium saucepan, bring the remaining 2 / cups of water and the salt to a gentle boil over medium heat. Slowly stream the cold cornmeal slurry into the boiling water while whisking constantly. Drop the heat to low and switch to a wooden spoon or spatula, stirring frequently for 10/15 minutes until the mixture turns intensely thick and pulls away from the pan walls.
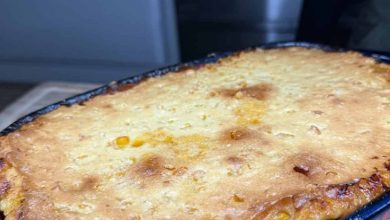
Step 3: The Retrogradation Chill: Scrape the molten cornmeal paste into your prepared pan, smoothing the surface flat with a spatula. Allow it to cool completely to room temperature on your counter, then cover it tightly and refrigerate for a minimum of 4 / hours, or overnight, until rock-solid.
Tip: The extended chilling window is an efficiency-driven moisture-locking milestone. As the paste cools, the expanded amylose and amylopectin starch chains realign and crystallize (retrogradation), squeezing out excess water and transforming a sticky porridge into a clean, sliceable block that won’t dissolve when it hits the hot grease.
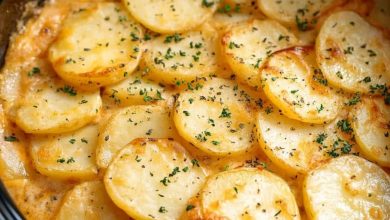
Step 4: The Geometric Precision Slices: Invert the chilled pan onto a cutting board to release the firm block of mush. Using a sharp knife, slice the loaf into clean squares or rectangles that are precisely 1/2 / to 3/4 / inch thick.
Note: Aim for uniform thickness across all pieces; keeping them thick ensures you get a beautiful structural contrast between a shattering outer crunch and a soft, pudding-like core.
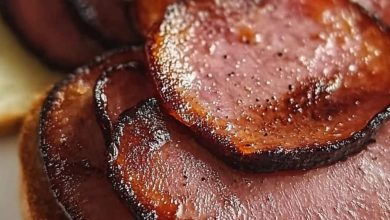
Step 5: The Lipophilic Crisp Fry: Heat a large skillet over medium heat and add enough oil or bacon grease to coat the bottom generously. Once the oil is hot and shimmering, arrange the cornmeal squares in a single layer with clear air gaps between them. Fry undisturbed for 3/5 minutes per side until a deep golden-amber crust forms.
Tip: Do not fiddle with or move the slices during the first few minutes of frying. The wet cornmeal needs uninterrupted contact with the intense lipid heat to evaporate its surface water and lock in a rigid crust. Moving them too early will break the fragile starch skin, causing the soft interior to leak out into the pan.
Step 6: The Capillary Drain & Serve: Transfer the hot slices to a paper towel–lined plate to drain away excess surface grease via capillary action for 1 / minute, then serve immediately while steaming hot.