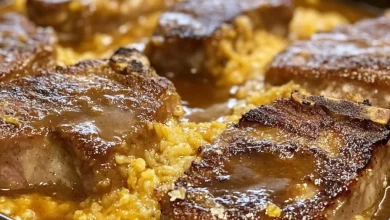
Ultimate Breakfast Cheese Danish
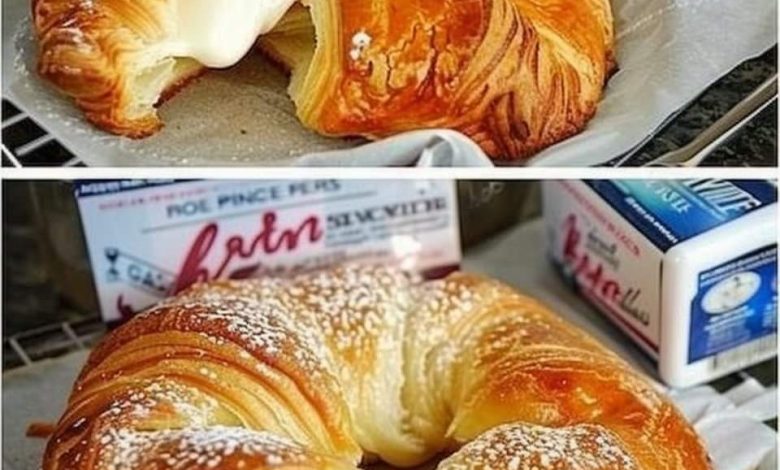
Breakfast is often considered the most important meal of the day, and what better way to start your morning than with a delicious, homemade Breakfast Cheese Danish? This pastry is the perfect combination of creamy, sweet, and flaky, making it a favorite for anyone who loves a sweet start to their day. Our Ultimate Breakfast Cheese Danish recipe is not only easy to make but also incredibly satisfying. Whether you’re preparing a quick breakfast for your family or hosting a brunch, this recipe is sure to impress.
ADVERTISEMENT
Ingredients You Will Need
To make this delicious Breakfast Cheese Danish, you will need the following ingredients:
ADVERTISEMENT
| Ingredient | Amount | Purpose |
|---|---|---|
| Crescent Roll Tubes | 2 tubes | Base of the Danish |
| Philadelphia Cream Cheese (softened) | 1- 8 oz. package | Creamy filling |
| Butter (fully melted) | 2 tablespoons | Adds richness and caramelization |
| Lemon Juice | 1 teaspoon | Brightens flavor |
| Light Brown Sugar | 1/4 cup | Adds subtle caramel flavor |
| White Sugar | 1/2 cup | Sweetens the cream cheese filling |
| Pure Vanilla Extract | 1 teaspoon | Enhances flavor |
| Powdered Sugar | 1/2 cup | Base for glaze |
| Pure Vanilla Extract | 1 teaspoon | Infuses glaze with flavor |
| Milk | 4 teaspoons | Thins the glaze |
| Fruit Filling (cherry, blueberry, or strawberry) | Optional | Topping for added flavor and color |
Step-by-Step Instructions
1. Prepare the Filling
Start by preheating your oven to 350°F (175°C). While the oven heats up, focus on creating the creamy filling. In a medium-sized bowl, combine the softened Philadelphia cream cheese, lemon juice, pure vanilla extract, and white sugar. Use a mixer to blend these ingredients until they are fully combined and smooth. Set this mixture aside, as it will be the star of your Danish.
ADVERTISEMENT
2. Prepare the Crescent Rolls
Next, open your crescent roll tubes. Instead of unrolling the dough as you typically would, keep the roll intact. Using a sharp knife, carefully slice through the dough, creating thick slices. These slices will serve as the base of your Danish.
3. Shape the Danish
Place each slice on a parchment-lined cookie sheet. To ensure that the filling stays in place, use your fingers or a small measuring cup to gently press down in the center of each slice, creating a small well. This well will hold the cream cheese mixture during baking.
4. Add the Butter and Sugar Mixture
In a small bowl, mix the melted butter with the light brown sugar. Use a brush to generously coat each Danish slice with this buttery, sugary mixture. This step adds a rich, caramelized flavor to the Danish and helps to enhance the overall texture.
5. Fill and Bake
Now it’s time to add the cream cheese filling. Using a spoon or small scoop, dollop an even amount of the filling into the center of each prepared Danish. Once all the slices are filled, place the cookie sheet in the preheated oven. Bake the Danish at 350°F for 16-18 minutes, or until they are slightly golden brown.
6. Prepare the Glaze
While the Danish are baking, prepare the glaze. In a small bowl, combine the powdered sugar, pure vanilla extract, and milk. Stir until the mixture is smooth and reaches a drizzle-able consistency.
7. Finishing Touches
Once the Danish are baked to perfection, remove them from the oven and let them cool slightly. While they are still warm, drizzle the glaze over each Danish, allowing it to cascade down the sides. For an extra touch of indulgence, top each Danish with a spoonful of cherry, blueberry, or strawberry filling.