Turned out perfect! Great for cold weather!
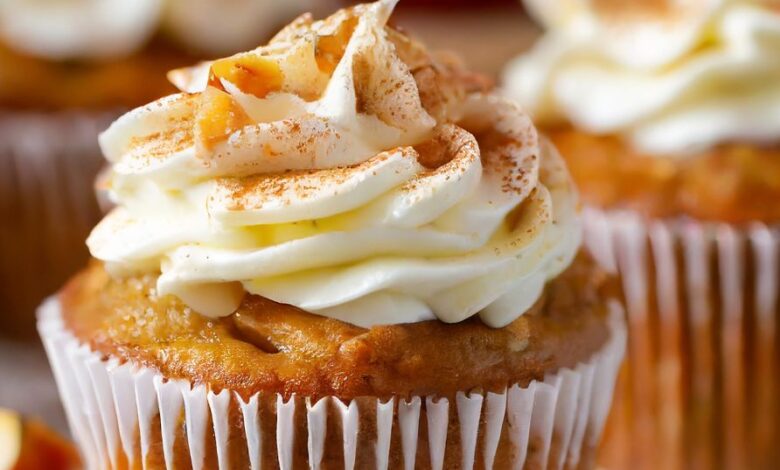
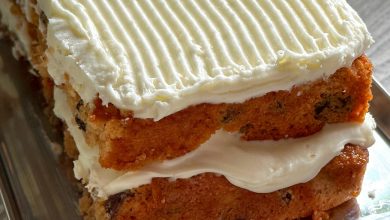
Indulge in the magic of fall with our irresistible Apple Cider Cupcakes. Elevate your baking game by following this delectable recipe that promises a delightful blend of flavors and textures.
ADVERTISEMENT
Crafting Culinary Magic Step by Step
Unleash your inner pastry chef as we guide you through the process of creating these divine Apple Cider Cupcakes.
ADVERTISEMENT
Preparing the Batter:
- Preheat Your Oven: Set the oven to 350°F (175°C) and line cupcake pans with paper liners for an easy cleanup.
- Whisking Wonders: In a medium bowl, whisk together the all-purpose flour, baking powder, baking soda, salt, ground cinnamon, and ground nutmeg.
- Creating the Base: In a large bowl, blend together the apple sauce, canola oil, packed brown sugar, and granulated sugar until achieving a smooth consistency. Add the room temperature eggs one at a time, mixing thoroughly after each addition. Stir in the pure vanilla extract.
- The Perfect Blend: Gradually incorporate the dry ingredients and apple cider into the wet mixture, alternating and starting and ending with the dry ingredients. Be cautious not to overmix, ensuring the batter is just combined.
- Crunchy Addition (Optional): For an extra layer of texture, fold in chopped walnuts or pecans if you desire.
Baking Brilliance:
- Filling and Baking: Fill the cupcake liners two-thirds full with the batter. Bake for 18-20 minutes or until a toothpick inserted into the center comes out clean.
- Cooling Grace: Allow the cupcakes to cool in the pans briefly before transferring them to a wire rack for complete cooling before frosting.