This old chair was found on the roadside. $4 of materials later, it’s beautiful
This old chair was found on the roadside. $4 of materials later, it’s beautiful.” This inspiring transformation is a testament to the power of upholstery. By mastering this skill, you can breathe new life into worn-out furniture, save money, and reduce waste.
ADVERTISEMENT
Upholstery is a versatile craft that allows you to express your unique style. Whether you’re aiming for a cozy, vintage look or a modern, minimalist aesthetic, reupholstering can help you achieve your desired atmosphere. Plus, it’s a fantastic way to give old furniture a second chance, keeping it out of landfills and reducing your environmental impact.
ADVERTISEMENT
Don’t be intimidated by the prospect of reupholstering. With a little patience and the right guidance, you can transform any chair into a stunning piece. This step-by-step tutorial will walk you through the process, from selecting materials to securing the fabric.
ADVERTISEMENT
Gather Your Supplies
Before you begin, ensure you have the following materials:
- An old chair (preferably with a solid wooden frame)
- Screwdriver
- Random orbit sander
- Small pen sander
- Hand towel
- Danish oil (natural finish or your preferred color)
- Needle-nose pliers
- Upholstery foam (2 inches thick)
- Marker
- Scissors
- Fabric of your choice (floral print used in this example)
- Liner fabric (white used in this example)
- Staple gun and staples
- Handheld clamp or vice
- Electric screwdriver
- Drill bit
- Phillips-head bit
- Phillips-head screws
Let’s Get Started!
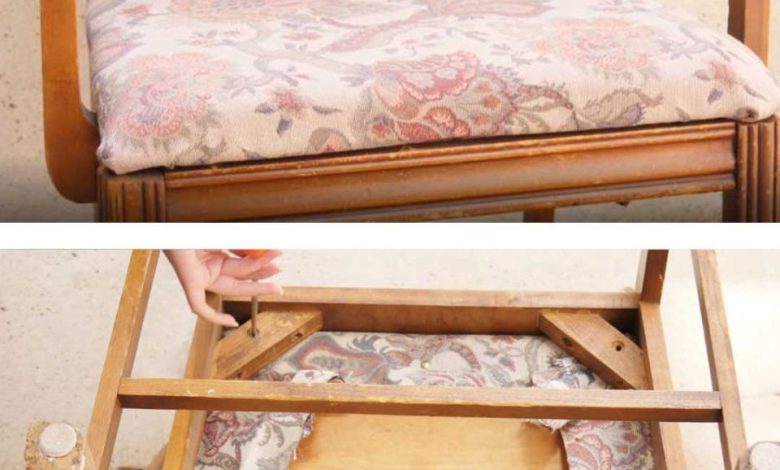
Preparing the Chair:
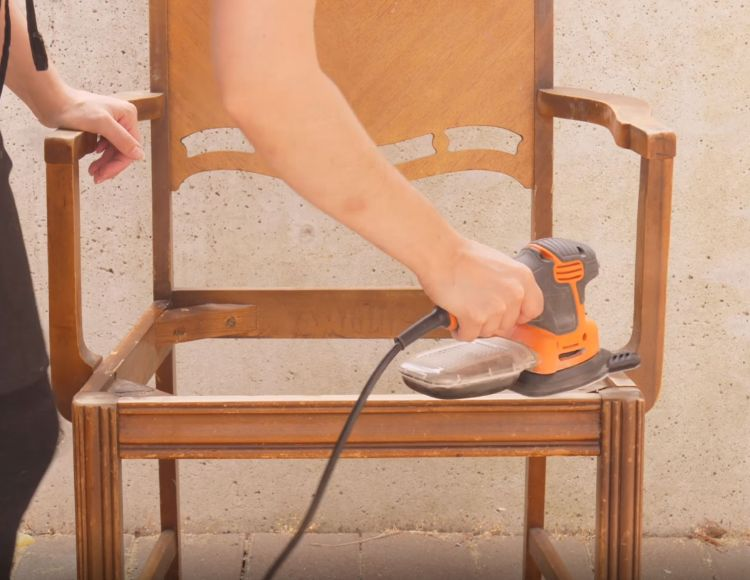
- Disassemble the Chair: Carefully turn the chair upside down and remove the screws attaching the cushion to the frame using a screwdriver.

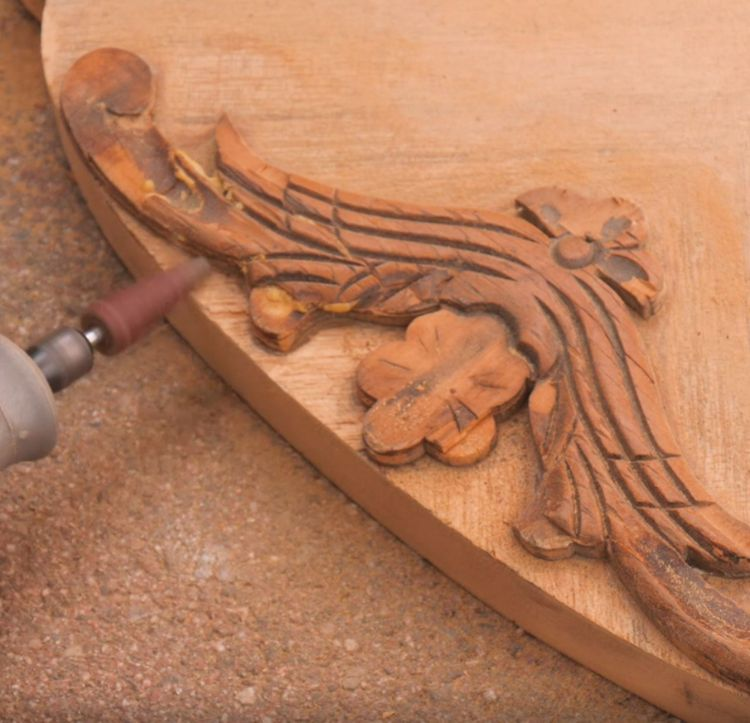
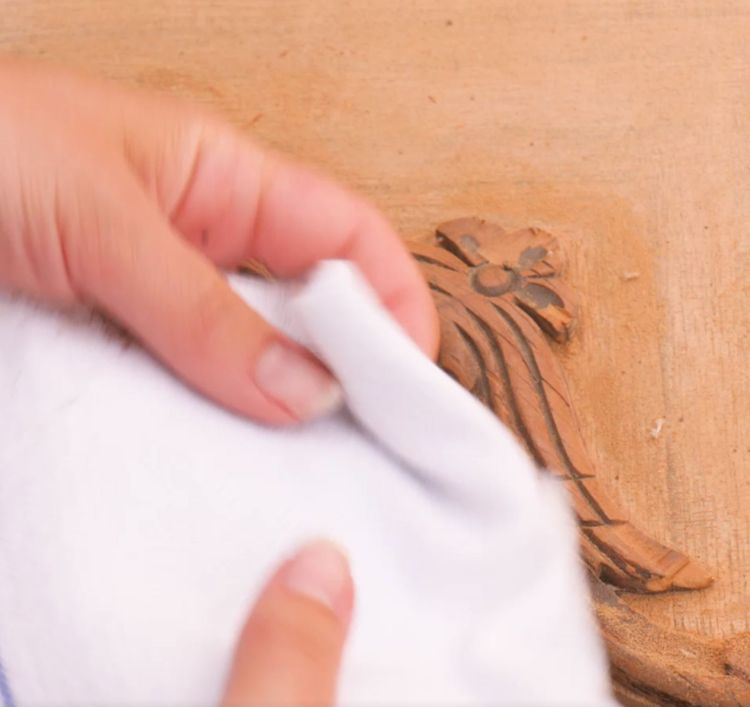
- Sand the Frame: Smooth out any rough surfaces on the chair’s frame using the random orbit sander for larger areas and the pen sander for detailed parts. Wipe away the dust with a hand towel.

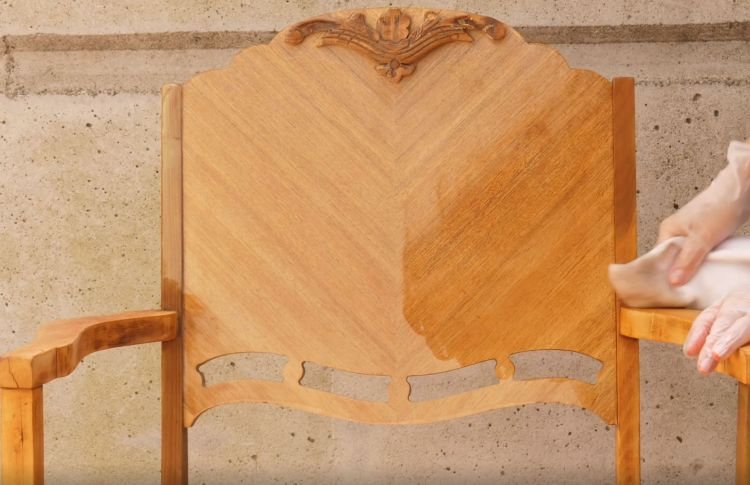
- Apply Finish: Enhance the chair’s appearance by applying Danish oil according to the package instructions. Let it dry completely.

Reupholstering the Cushion:
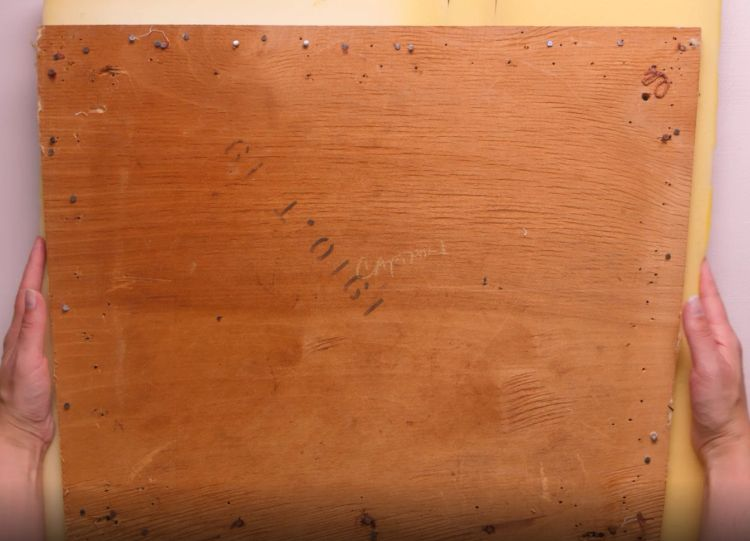
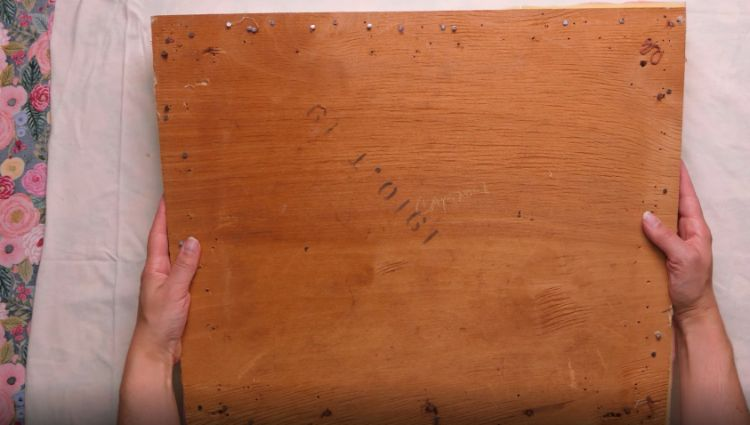
- Remove Old Materials: Strip the cushion of its old fabric and foam. Use needle-nose pliers to remove any staples or tacks.

- Cut New Foam: Place the cushion’s wooden base on top of the upholstery foam and trace its outline. Cut the foam to this shape.
- Prepare Fabric: Lay the liner fabric on top of the printed fabric, right side down. Cut both fabrics to be at least 6 inches larger than the wooden base.
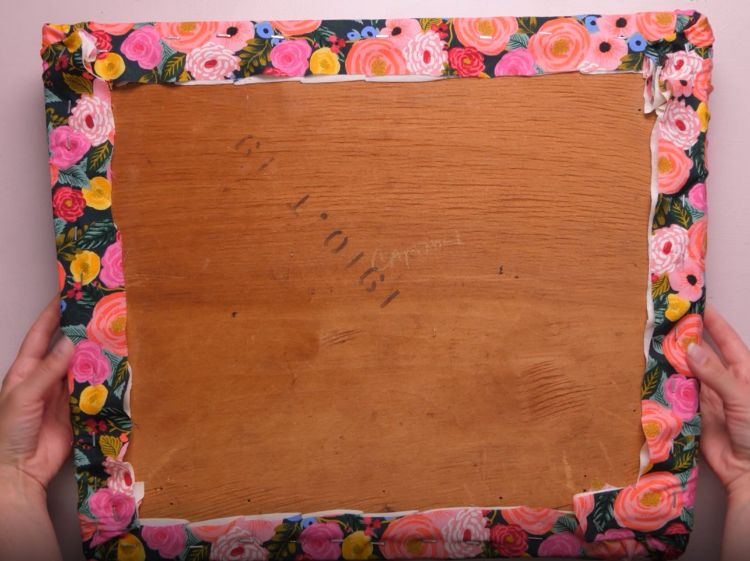
- Attach Fabric to Foam: Center the foam on the fabric layers. Pull the fabric taut and staple it securely to the wooden base, starting with the bottom edge.
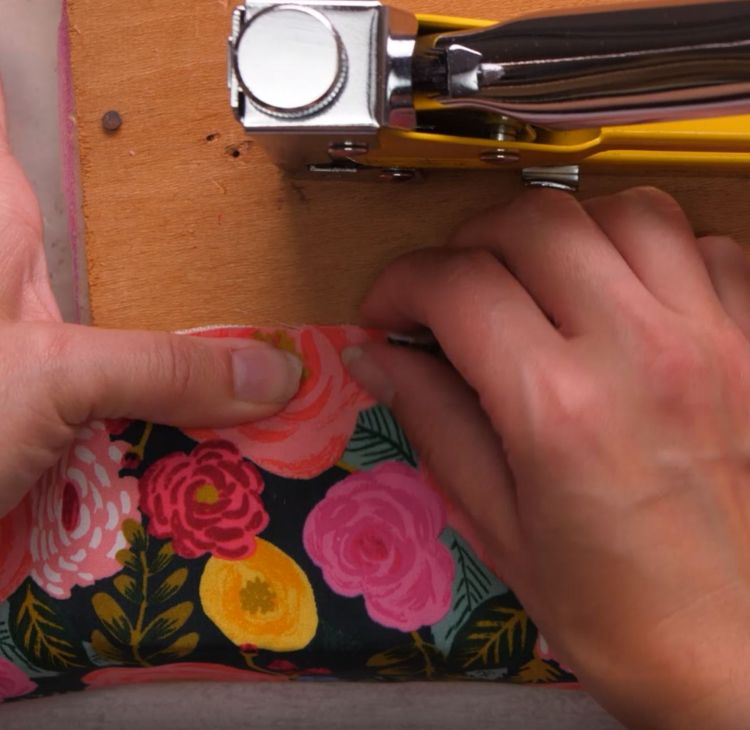
- Complete the Upholstery: Continue stapling the fabric to the base, working your way around the edges. Ensure the fabric is tight and evenly distributed. Trim excess fabric as needed.

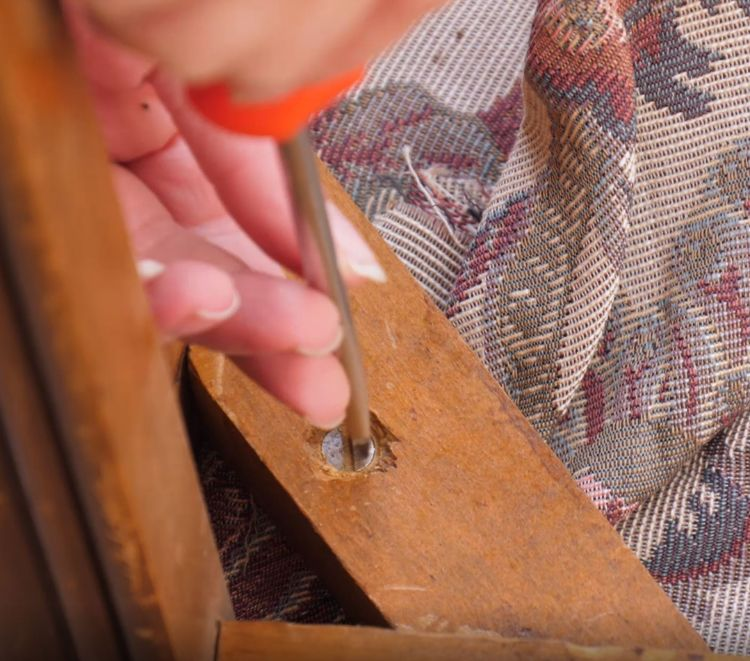
Reassembling the Chair:
- Attach Cushion to Frame: Position the reupholstered cushion on the chair frame and secure it using clamps or a vice.
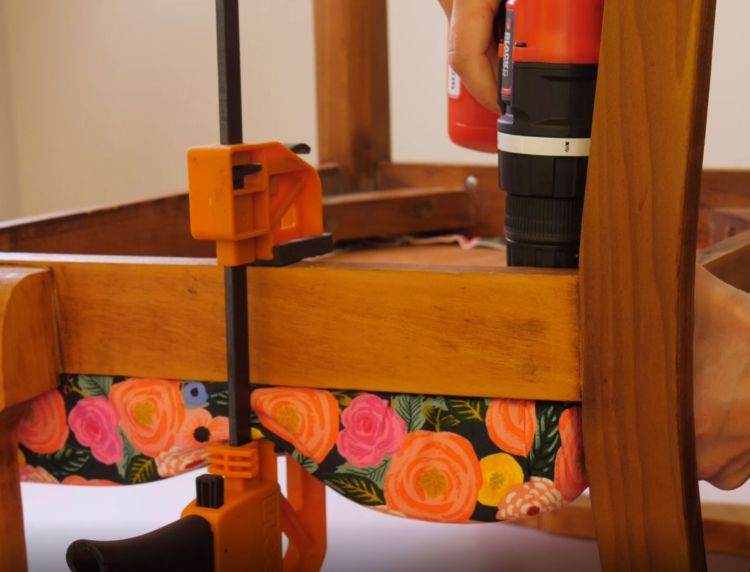
- Drill Pilot Holes: Drill pilot holes into the wooden base to prevent the wood from splitting.

- Secure Cushion: Insert and tighten Phillips-head screws into the pilot holes to attach the cushion firmly to the chair frame.
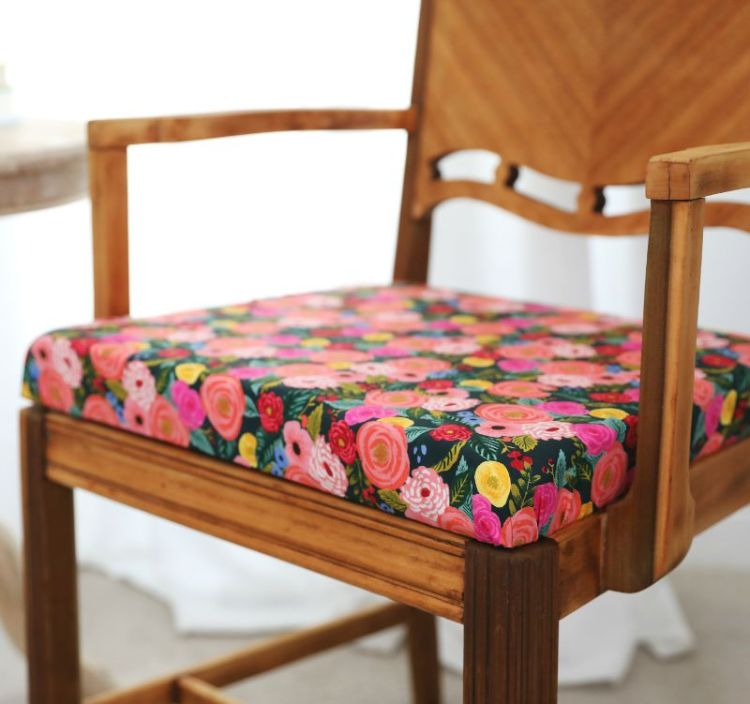
Admire Your Masterpiece! Once the screws are secure, turn the chair right side up and revel in your newly upholstered creation. With a little effort and creativity, you’ve transformed a discarded piece into a stunning focal point for your home.