My neighbor shared this recipe 30 years ago and I’ve made it at least 500 times since. Pure comfort.
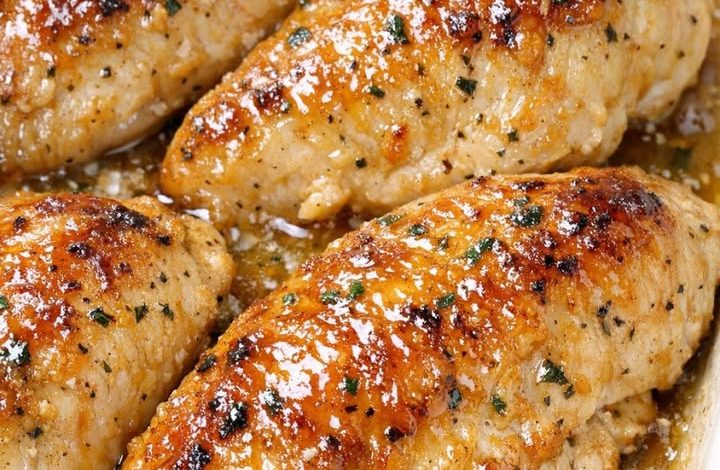
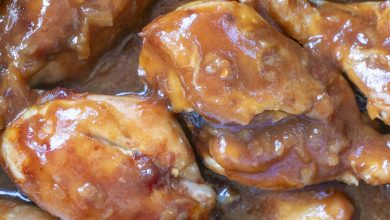
This Oven-Baked Honey Butter Ranch Chicken is a brilliant weeknight staple that balances the herbal tang of buttermilk ranch with the mellow sweetness of honey. By whisking the dry ranch seasoning directly into melted butter, you create a thick “schmear” that clings to the chicken rather than sliding off into the bottom of the dish. The two-stage baking process—starting under foil to steam the meat and finishing uncovered to reduce the glaze—ensures the breast meat stays succulent while the exterior develops a glossy, golden lacquer.
ADVERTISEMENT
Honey Butter Ranch Chicken
Ingredients:
| Ingredient | Quantity |
| Chicken breasts (boneless, skin-on) | 2 lbs |
| Butter (unsalted, melted) | 1/2 cup |
| Honey | 1/3 cup |
| Dry ranch dressing mix | 1 oz packet |
| Salt (optional) | 1/2 teaspoon |
| Black pepper (optional) | 1/4 teaspoon |
Step-by-Step Directions
Step 1: The Casserole Prep: Preheat your oven to 375°F. Lightly grease a medium white casserole dish with a small pat of butter.
ADVERTISEMENT
Tip: Using a white ceramic dish isn’t just for looks—ceramic retains heat evenly, which helps the honey-butter sauce bubble steadily without scorching at the edges of the pan.
ADVERTISEMENT
Step 2: The Dry Pat: Pat the chicken breasts bone-dry with paper towels.
Tip: This is a crucial step! If the chicken is damp, the honey-butter mixture will slide right off. Drying the surface allows the fats and sugars to “grab” the meat, creating that signature shiny glaze.
Step 3: The Herbal Glaze: In a small bowl, whisk together the melted butter, honey, and the ranch packet until smooth and speckled with herbs. Arrange the chicken in the dish and pour the mixture over the top, using a spoon to ensure every inch of the meat is coated.
Step 4: The Covered Bake: Cover the dish loosely with foil and bake for 20 minutes. This initial “steam” phase ensures the thickest part of the breast cooks through without the exterior sugars burning.
Step 5: The Basting Phase: Remove the foil and spoon the hot juices from the bottom of the dish back over the chicken. Return to the oven uncovered for another 10–20 minutes.
The Test: The chicken is done when an instant-read thermometer hits 165°F. For a deeply caramelized “pro” finish, switch to the broiler for the last 2 minutes, but watch it closely! Honey can go from golden to burnt in seconds.
Step 6: The Final Rest: Let the chicken rest in the dish for 5 minutes before serving. This allows the juices to redistribute and the sauce to thicken slightly into a tacky syrup that you can spoon over the chicken one last time before plating.