Lady melts 150 wrinkled plastic grocery bags under a hot heavy iron. Everyone is copying this idea for their backyard!
Let’s be completely honest with ourselves—almost all of us have that one overflowing cabinet, drawer, or closet stuffed to the brim with plastic grocery bags. Instead of eventually throwing them away, what if you could upcycle them into something genuinely amazing?
ADVERTISEMENT
Transforming everyday waste into beautiful, functional art is not only rewarding but also environmentally friendly. This incredibly fun and simple DIY project breathes new life into discarded plastic grocery bags by turning them into stunning faux-leather woven garden baskets. With the simple application of heat and pressure, you can create durable, weather-resistant baskets perfect for organizing your backyard or adding a unique touch to your garden decor. There is nothing quite like the feeling of turning ordinary trash into a high-end-looking treasure!
ADVERTISEMENT
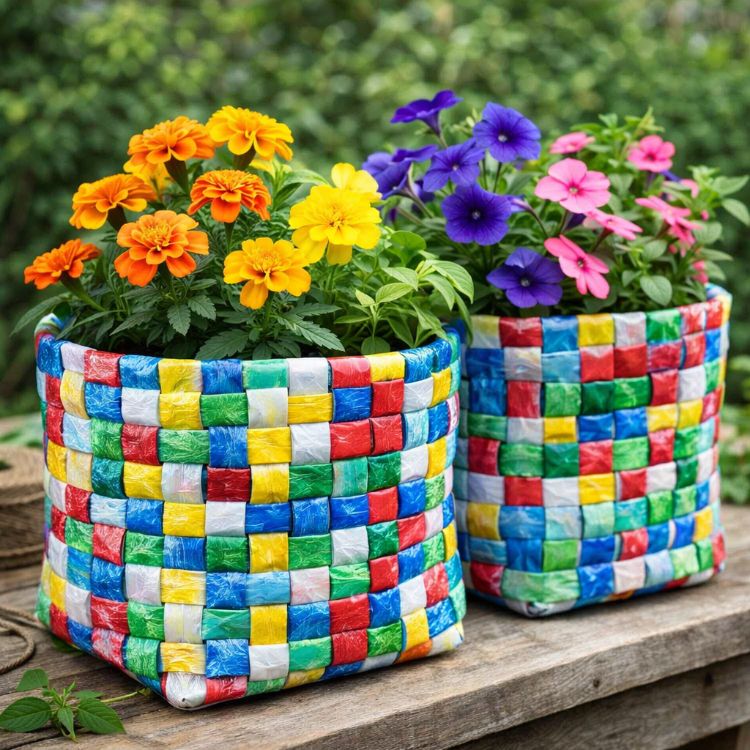
These faux-leather woven baskets have a rustic yet modern appeal that pairs well with natural and minimalist decor styles. You can use them as beautiful planters for your delicate succulents, bright flowers, or fresh kitchen herbs. They also work wonderfully as practical storage for gardening tools, keeping your outdoor space neat and inviting. Their neutral tones blend seamlessly with wooden furniture and outdoor greenery, enhancing the organic feel of your space. Plus, whenever a guest compliments them, you get the wonderful bragging rights of saying you crafted them with your own two hands!
ADVERTISEMENT
DIY Artisan Faux-Leather Woven Garden Baskets
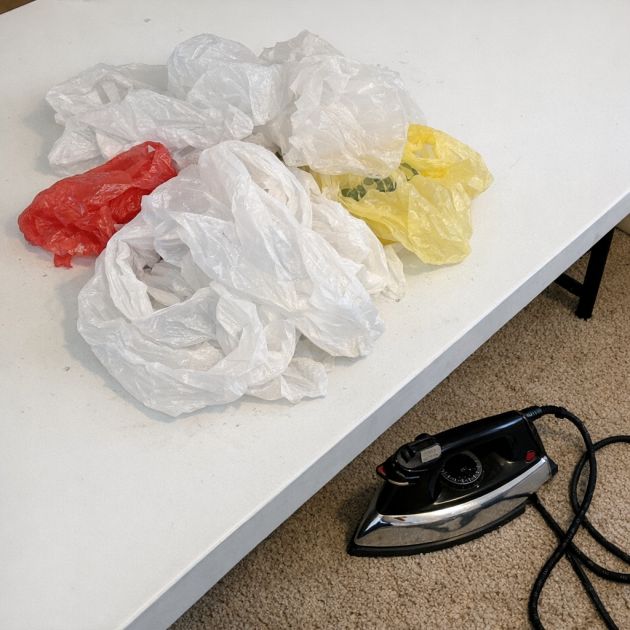
Materials You Will Need
Before we get started, gather up these simple supplies. You likely already have everything you need right at home!
-
150 wrinkled plastic grocery bags (If you are running short, this is a great excuse to ask neighbors or friends to recycle theirs with you!)
-
Heavy iron (Your standard household clothes iron will work perfectly for this)
-
Parchment paper (Absolutely essential to keep the melting plastic from sticking and ruining your iron)
-
Scissors (A sharp pair works best)
-
Ruler (Or a measuring tape to keep your strips even)
-
Needle and thread (or a strong craft glue, based on your personal preference and what you find easiest)
Step-by-Step Directions
-
Prepare your workspace: First things first, lay a piece of parchment paper on a flat, heat-resistant surface. An ironing board or a thick wooden table with a protective mat works wonderfully. A quick safety tip: It is always a great idea to open a window for good ventilation or do this project outside on a nice day when working with heated materials.
-
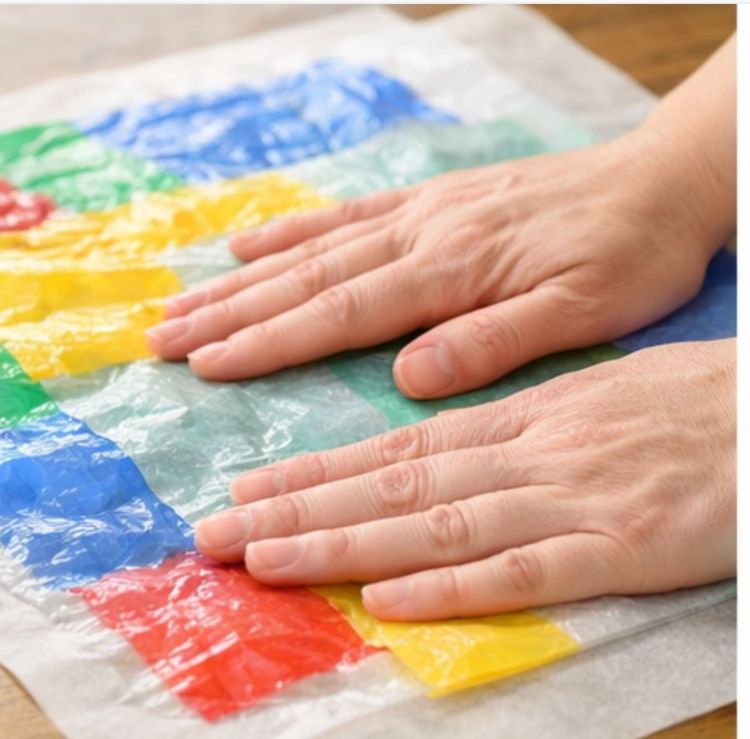
Layer the plastic: Place several plastic bags on top of the parchment paper, ensuring they are flat and not overlapping too much. Smoothing them out gently with your hands will help them melt much more evenly.
-
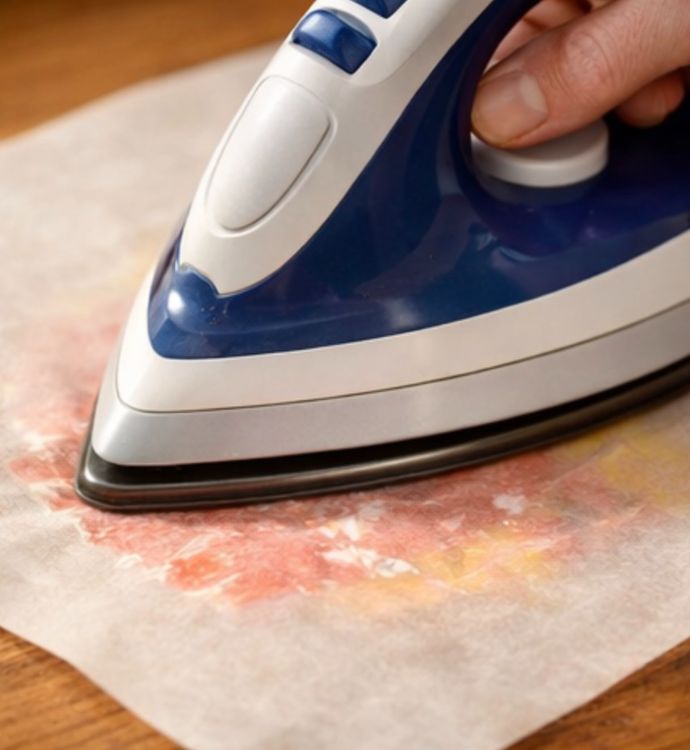
Protect your iron: Cover the plastic bags with another piece of parchment paper. You are essentially creating a sandwich, with the plastic safely tucked between the two protective paper layers.
-
Apply the heat: Set your iron to a medium-high setting (without steam). Please double-check that the steam function is totally turned off! Carefully press down on the parchment-covered plastic bags, applying even pressure for about 15-20 seconds. Move the iron slowly and steadily.
-
Check your progress: Check the bags to see if they have fused into a thicker sheet. Gently lift the top paper to take a peek. If not, simply lay the paper back down and repeat the ironing process for a few more seconds until you achieve that solid, faux-leather texture.
-
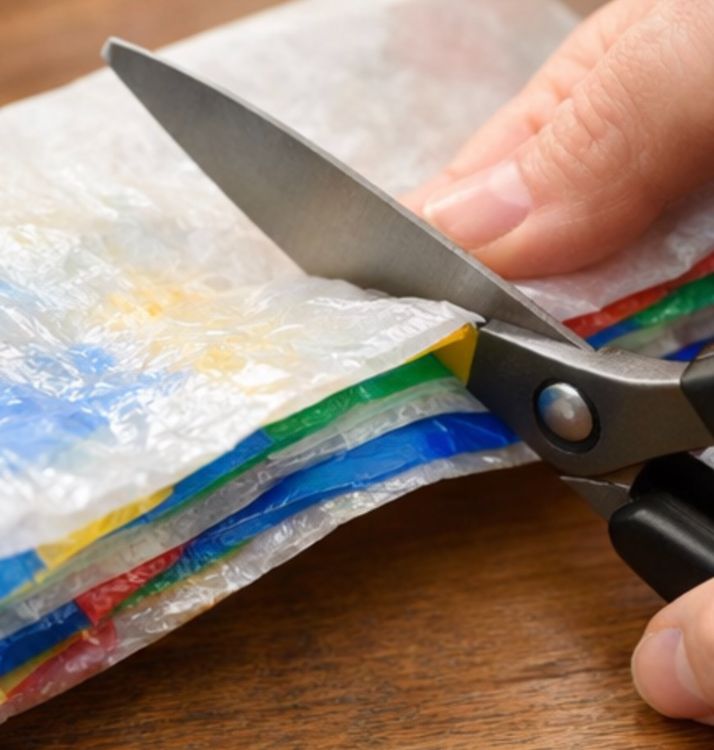
Cut your strips: Allow the newly fused plastic sheets to cool down completely so they are safe to handle. Once cooled, grab your ruler and scissors, and cut them into strips of approximately 2 inches in width.
-
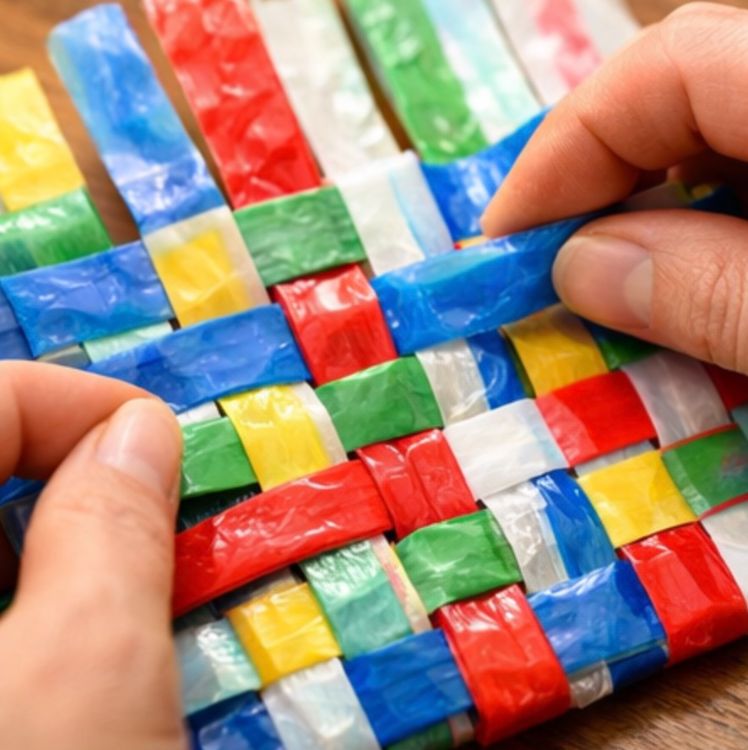
Begin weaving: Now it is time for the fun, creative part! Weave the strips together to form the base and sides of the basket, similar to a traditional basket weaving technique. Going over, under, over, and under is a very relaxing process once you get into a rhythm.
-
Secure the shape: As you reach your desired height and shape, you will need to hold it all together. Secure the edges of the woven basket using needle and thread or glue, ensuring the structure is stable and strong enough to hold your plants or tools.
-
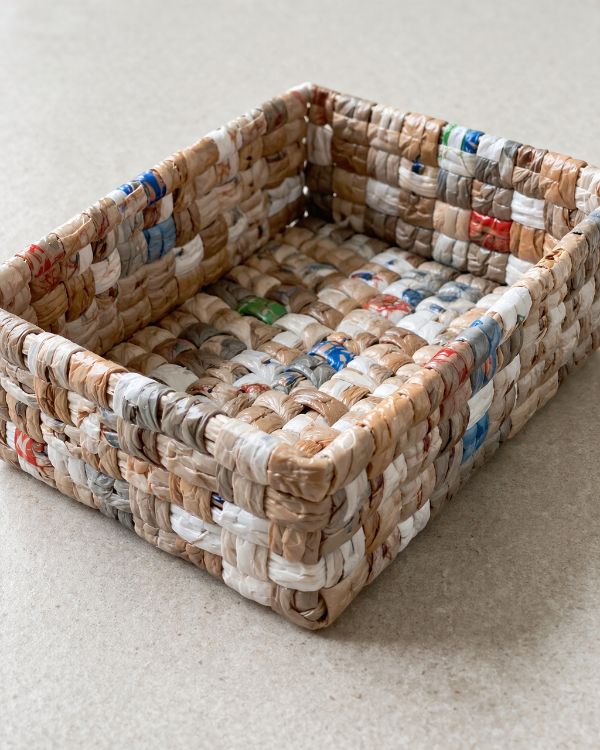
The final touch: Grab your scissors one last time and trim any excess material for a neat finish along the top rim.
Fun Variations & Helpful Tips
Want to make this project entirely your own? To add a personal touch, consider dyeing the plastic strips with fabric-safe dyes before weaving for a splash of color that matches your patio furniture. You can also experiment with different weaving patterns, like a beautiful diagonal design, or integrate additional materials like rustic twine or colorful ribbon for added texture and charm.
The sizing is completely up to you, too! For smaller baskets intended for desks or bathroom counters, simply use fewer bags and narrower strips. Alternatively, create a larger, more robust basket—perfect for holding big outdoor patio cushions or pool towels—by using more bags and wider strips. Have fun with it, and enjoy your beautiful new creations!