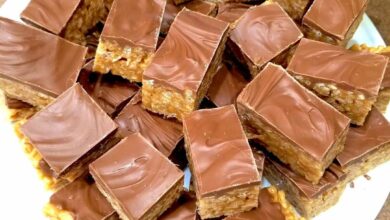
I had no idea these would taste this good! So heavenly!
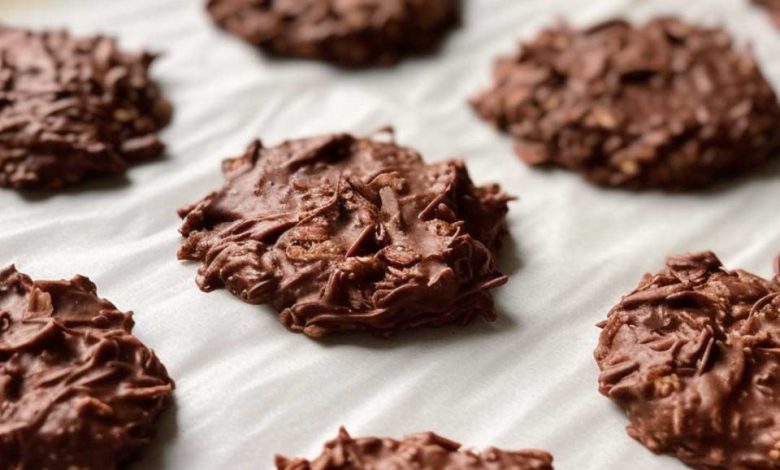
In the world of ketogenic desserts, No-Bake Keto Chocolate Peanut Butter Cookies reign supreme. These delectable treats are a dream come true for anyone following a keto lifestyle, combining the rich, indulgent flavors of chocolate and peanut butter with a low-carb, sugar-free profile. Whether you’re craving a sweet snack or looking for a quick dessert to satisfy your sweet tooth, these cookies are the perfect solution. Let’s dive into the details of how you can make these delightful cookies and why they are an essential addition to your keto recipe arsenal.
ADVERTISEMENT
Ingredients for Success
The magic of these cookies lies in their simple yet powerful ingredients. Each component is chosen to enhance flavor, texture, and nutritional value, ensuring you get the best of all worlds. Here’s what you’ll need:
ADVERTISEMENT
| Ingredient | Quantity | Notes |
|---|---|---|
| Liquid vanilla stevia | 4 drops | Natural sweetener |
| Natural chunky peanut butter | 2/3 cup | Can substitute with favorite nut butter |
| Butter | 2 tablespoons | Adds richness and binds ingredients |
| Unsweetened shredded coconut | 1 cup | Provides texture and flavor |
| Cocoa powder | 1 tablespoon | Adds chocolate flavor |
Step-by-Step Preparation
1. Melting the Butter
Start by placing the butter in a microwave-safe bowl. Heat it for about 20-30 seconds until it’s fully melted. The melted butter serves as the base for mixing all the ingredients together smoothly.
ADVERTISEMENT
2. Combining the Ingredients
Next, add the natural chunky peanut butter to the melted butter. Stir in the unsweetened shredded coconut and cocoa powder until well combined. This mixture should be thick and well-integrated, with the cocoa powder evenly distributed to ensure a consistent chocolate flavor throughout the cookies.
3. Sweetening the Mixture
Add 4 drops of liquid vanilla stevia (or your preferred liquid sweetener) to the mixture. Mix thoroughly to ensure the sweetness is evenly spread throughout the dough. The stevia not only sweetens the cookies but also enhances the natural flavors of the other ingredients.
4. Shaping the Cookies
Line a tray or plate with parchment paper. Use your hands or a spoon to shape the mixture into small, cookie-sized portions. Place each portion on the parchment paper, making sure they are evenly spaced and not touching each other.
5. Setting the Cookies
Place the tray in the freezer for about 15 minutes. This step is crucial as it allows the cookies to set and hold their shape. Once set, you can separate the cookies with the parchment paper and place them in a sealed container for storage.
6. Enjoying Your Cookies
Once the cookies are set, they are ready to be enjoyed! These no-bake cookies are perfect for a quick snack or a post-meal dessert. Store any leftovers in the fridge to maintain their shape and freshness.
