How to Thoroughly Clean Dull and Grimy Kitchen Cabinets
Kitchen cabinets, the unsung heroes of our culinary adventures, often bear the brunt of daily cooking activities. Over time, they can accumulate a layer of grime, grease, and smoke, leading to a dull and unappealing appearance. But fear not, fellow home chefs! This guide will equip you with a simple yet powerful method to restore your cabinets to their former glory, using readily available ingredients: baking soda and coconut oil.
ADVERTISEMENT
Why These Ingredients Work Wonders:
ADVERTISEMENT
- Coconut Oil: This tropical treasure is a natural grease-cutter. It effectively dissolves stubborn grime while leaving behind a subtle, nourishing sheen on the cabinet surfaces.
- Baking Soda: A versatile household staple, baking soda acts as a gentle yet effective abrasive. It scrubs away dirt and grime without scratching or damaging the cabinet finish.
Let’s Get Cleaning!
ADVERTISEMENT
Gather Your Supplies:
- Baking Soda: 1/2 cup
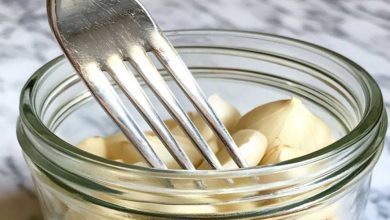
- Coconut Oil: 1/4 cup
- Small Mixing Bowl: For combining ingredients
- Old Toothbrush: Ideal for reaching those hard-to-clean crevices
- Soft Cloth or Sponge: For application and wiping
- Slightly Damp Cloth: For removing excess solution
Step-by-Step Instructions:
-
Create the Cleaning Powerhouse: In your mixing bowl, combine the baking soda and coconut oil. Whisk vigorously until a smooth, paste-like consistency is achieved.
-
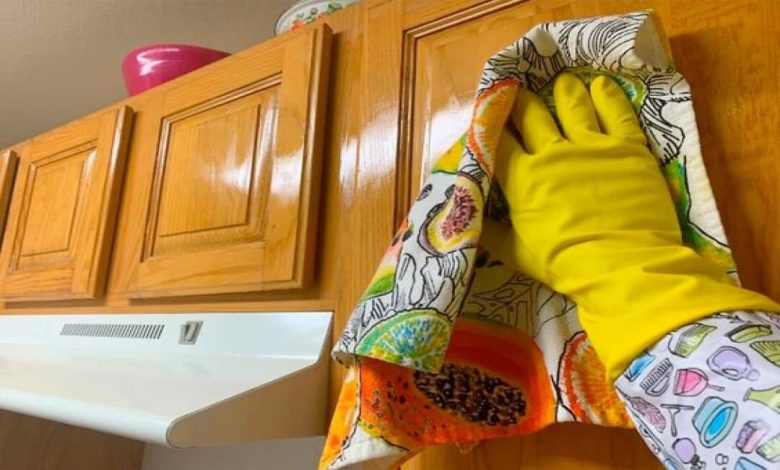
Apply the Solution: Using your hands or a clean cloth, generously apply the paste to the cabinet surfaces. For intricate details and hard-to-reach areas, utilize the old toothbrush to gently scrub the solution into the nooks and crannies.
-
Scrub Away the Grime: Gently scrub the cabinets in a circular motion, paying extra attention to areas with heavy grease or grime buildup.
-
Wipe Clean: Once you’ve scrubbed the entire surface, use a slightly damp cloth to wipe away any excess cleaning solution. Ensure all residue is removed to prevent any sticky residue.
-
Revel in the Results: Step back and admire your revitalized cabinets! They should now shine with a renewed luster, free from the grime and dullness that had accumulated over time.
Tips for Optimal Results:
- Test First: Before applying the solution to the entire cabinet, perform a patch test on an inconspicuous area. This will help you ensure the cleaning solution won’t damage the cabinet’s finish.
- Regular Maintenance: For best results, incorporate regular cleaning into your kitchen routine. A quick wipe-down with a damp cloth once a month can prevent grime buildup and keep your cabinets looking their best.
- Minimize Water Use: Excessive moisture can be detrimental to wooden cabinets, leading to warping or damage. Use minimal water during the cleaning process and ensure the cabinets are thoroughly dried afterward.
By following these simple steps and utilizing the power of natural ingredients, you can easily restore your kitchen cabinets to their original shine. Enjoy the satisfaction of a sparkling clean kitchen and the renewed energy that comes with a refreshed space!