How To Make a Kitchen Fan Hood
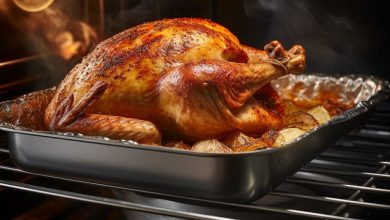
Are you tired of dealing with cooking odors and smoke lingering in your kitchen? Installing a kitchen fan hood can greatly improve your culinary experience by effectively removing these unwanted elements from the air. In this guide, we will take you through the step-by-step process of creating and installing your very own kitchen fan hood.
ADVERTISEMENT
1. Gather the Necessary Materials
Before you begin, make sure you have all the required materials at hand. You’ll need:
ADVERTISEMENT
- Kitchen fan unit
- Hood frame and panels
- Ductwork and vent pipe
- Screwdriver set
- Measuring tape
- Electric drill
- Wiring and electrical components
- Safety goggles and gloves
ADVERTISEMENT
2. Measure and Plan
Start by measuring the dimensions of your stove area. This will help you determine the appropriate size for your kitchen fan hood. Plan the placement of the hood and fan unit to ensure optimal air circulation and efficient removal of smoke and odors.
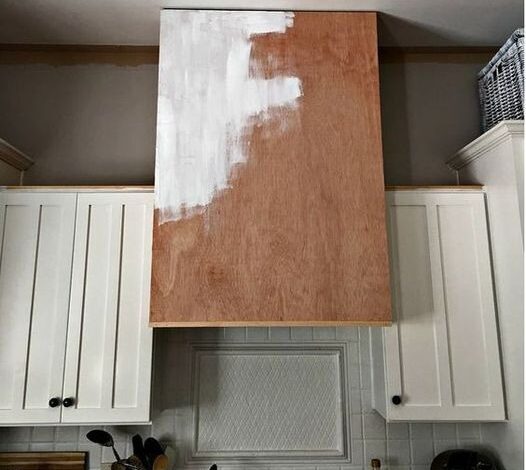
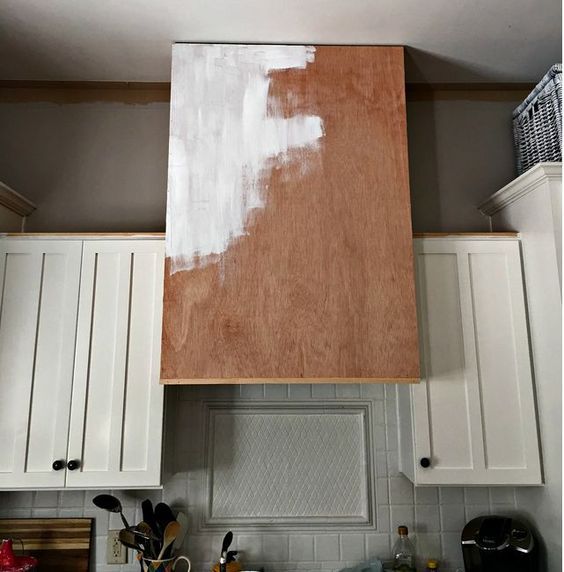
3. Prepare the Workspace
Clear the area around your stove and mark the positions where the hood frame will be installed. Cover nearby surfaces to protect them from dust and debris. Ensure proper ventilation in the workspace.

How To Make a Kitchen Fan Hood
1. Installing the Fan Unit
Follow the manufacturer’s instructions to install the fan unit in the designated location. This typically involves securing the fan to a support structure and connecting it to a power source.
2. Attaching the Hood Frame
Assemble the hood frame according to the provided instructions. Attach it securely to the wall or ceiling above the stove area. Make sure it is level and stable.
3. Ductwork Installation
Connect the ductwork and vent pipe to the fan unit. The ductwork will channel the air and odors to the outside. Ensure a tight and secure connection to prevent leaks.
4. Wiring and Electrical Connections
If your kitchen fan hood comes with lighting or other electrical features, follow the wiring instructions carefully. Make the necessary electrical connections while ensuring safety precautions.
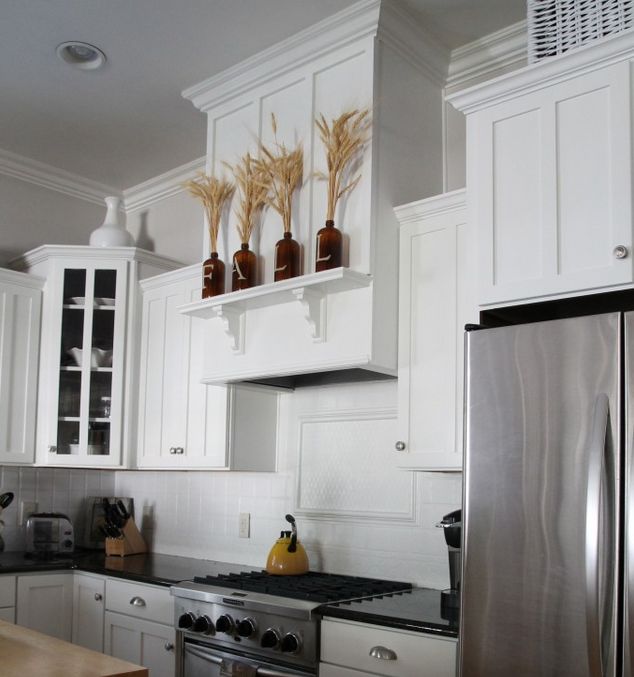
5. Secure the Hood in Place
Double-check all the connections and attachments before securing the hood frame in its final position. Use screws and anchors to ensure it is firmly attached to the wall or ceiling.
6. Testing and Adjustments
Turn on the fan and test its functionality. Make any necessary adjustments to the fan speed and settings to achieve the desired airflow. Test the lighting and other features if applicable.
10. Cleaning and Maintenance
Regularly clean the hood filters and surfaces to maintain optimal performance. Check for any signs of wear or damage and address them promptly. Keeping your kitchen fan hood clean will extend its lifespan and effectiveness.
Congratulations! You’ve successfully created and installed your very own kitchen fan hood. Say goodbye to unwanted cooking odors and hello to a fresh and clean kitchen environment.
Frequently Asked Questions
Q: How often should I clean the filters of my kitchen fan hood? A: It is recommended to clean the filters at least once a month to ensure proper airflow and effective odor removal.
Q: Can I install a kitchen fan hood without an external vent? A: Yes, there are ductless kitchen fan hoods available that use filters to purify the air before recirculating it back into the kitchen.
Q: Do I need professional help to install a kitchen fan hood? A: While DIY installation is possible, it’s recommended to have some experience with electrical and carpentry work. If you’re unsure, consulting a professional is a good idea.
Q: Can I replace the fan in my existing kitchen hood? A: In most cases, yes. However, make sure the replacement fan is compatible with your hood’s specifications.
Q: Are there any safety precautions I should take during installation? A: Absolutely. Make sure to turn off the power before working with electrical components, and wear appropriate safety gear such as gloves and goggles.