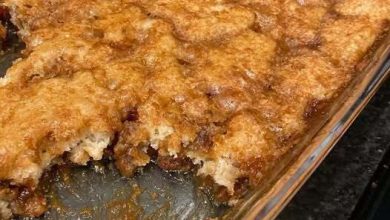
Every year, we make this around St Paddy’s Day! It doesn’t disappoint!
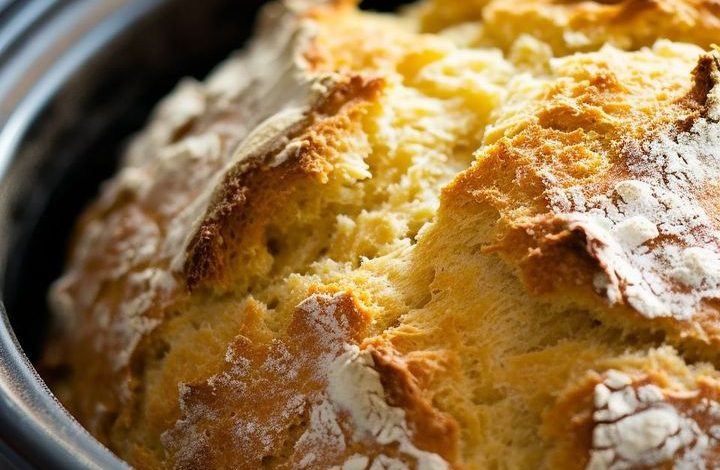
Irish soda bread is a classic recipe that brings a taste of traditional Irish baking into your kitchen. Known for its simplicity and rustic charm, soda bread is a quick bread that uses baking soda as a leavening agent instead of yeast. This guide will take you through the history, ingredients, methods, and tips for making the perfect slow cooker Irish soda bread, ensuring you can enjoy this delicious bread with minimal effort and maximum flavor.
ADVERTISEMENT
Ingredients:
| Ingredient | Quantity |
|---|---|
| All-purpose flour | 3 1/2 cups, plus extra |
| White sugar | 1/3 cup |
| Baking soda | 1 teaspoon |
| Salt | 1 teaspoon |
| Egg | 1, lightly beaten |
| Buttermilk | 1 3/4 cups |
| Melted butter | 1/4 cup, divided |
Instructions:
- Mix Dry Ingredients:
- In a large mixing bowl, whisk together 3 1/2 cups of flour, 1/3 cup of sugar, 1 teaspoon of baking soda, and 1 teaspoon of salt.
- Create a well in the center of the mixture.
- Combine Wet Ingredients:
- In a separate bowl, lightly beat 1 egg.
- Add 1 3/4 cups of buttermilk to the beaten egg.
- Pour the buttermilk and egg mixture into the well of the dry ingredients.
- Mix the Dough:
- Gently mix with a spoon or your hands until the dough comes together. Be careful not to over-mix.
- Shape the Dough:
- Sprinkle some flour on a clean work surface.
- Turn out the dough onto the floured surface and gently knead it into a round shape.
- Prepare the Slow Cooker:
- Line the bottom of your slow cooker with parchment paper.
- Place the shaped dough on top of the parchment paper.
- Cook the Bread:
- Brush the top of the dough with half of the melted butter (1/8 cup).
- Cover the slow cooker and cook on high for 2 to 2.5 hours.
- Check if the bread is done by inserting a toothpick into the center; it should come out clean.
- Finish the Bread:
- Carefully remove the bread from the slow cooker.
- Brush the top with the remaining melted butter (1/8 cup).
- Optional: For a crisper crust, place the bread under the broiler for a few minutes, but watch closely to prevent burning.
- Cool and Serve:
- Let the bread cool slightly before slicing and serving. Enjoy!
