DIY Appliance “Garage”
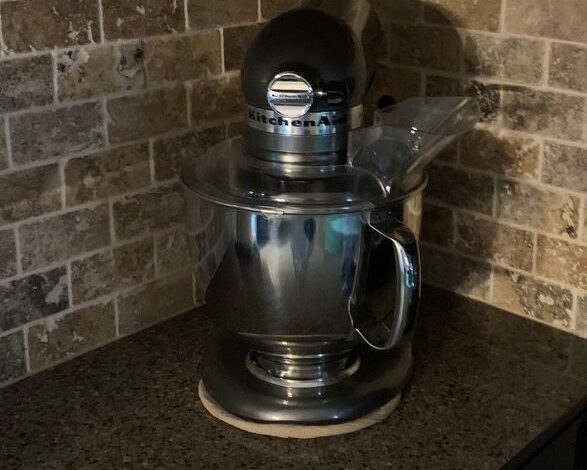
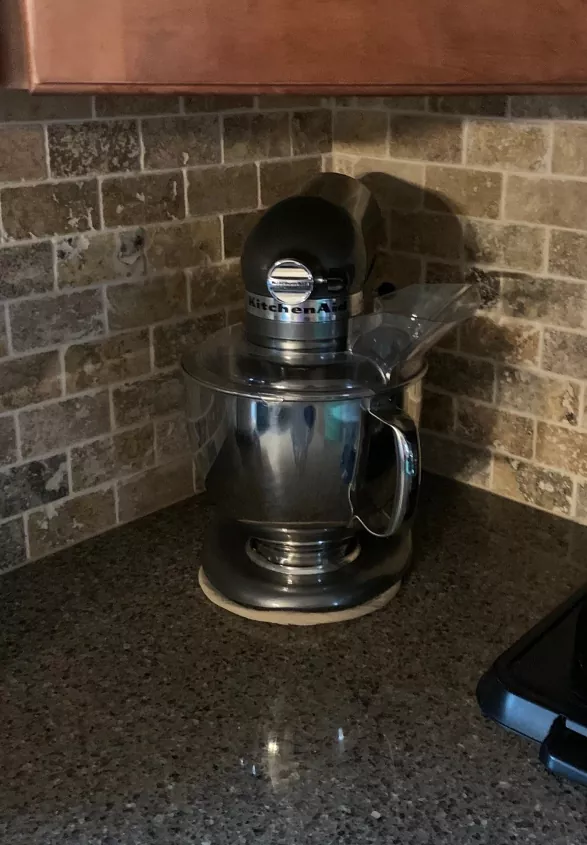
I recently got a new stand mixer, and right away, I knew I wanted to find a good place for it in my kitchen. After looking at the layout and how much space I had, I decided that putting it on the counter in a corner would work best. However, once I had the mixer there, I noticed that my countertops felt a little more “busy” than I really liked. This was just my personal feeling, but it became a big reason for me to try and make the countertop look less cluttered, at least in my opinion.
ADVERTISEMENT
There were other things I was thinking about too. Even though this corner spot is the easiest place in my kitchen to get to the mixer, it’s also right in the middle of where I do a lot of cooking, between the sink and the stove. So, it was important to me to keep the mixer clean and make sure it wasn’t always getting covered in “food prep splatter and crumbs.” Also, the mixer is pretty heavy, so trying to store it way back inside a cabinet didn’t seem like the best idea for me.
ADVERTISEMENT
ADVERTISEMENT
I started looking online at different kinds of appliance “garages.” These are basically designed to do exactly what I wanted – keep an appliance that you don’t use all the time handy but also out of sight when you’re not using it. But, I “did not find much that I liked.” As I looked at different options, I realized two main things: first, “I did not want to permanently install anything” onto my kitchen cabinets or the countertop itself, and second, “I did not want to drop that much cash on this.” So, I started to think that maybe I could come up with my own way to solve this little “problem.”
Then, I looked at the beautiful handmade cutting board that I usually have sitting out on my countertop. I really like how it brings together the colors of my cabinets, the countertop, and the backsplash. It made me think, “If I could only find something similar to assemble a small ‘screen’ to decoratively and subtly camouflage & protect that mixer!” With this idea in mind, I measured how tall and wide my mixer was so I knew what size pieces I would need. Then, I started looking around to find just the right things.

Luckily, I found exactly what I was looking for at The Christmas Tree Shops. They had these three really nice rectangular cutting boards made of Acacia wood, and they were only about $8.00 each. They were tall enough to hide the mixer and still fit under the cabinet that’s above the counter. Plus, the colors of the wood looked great in my kitchen. They were also pretty thick, so I thought they would stand up nicely on their edges.
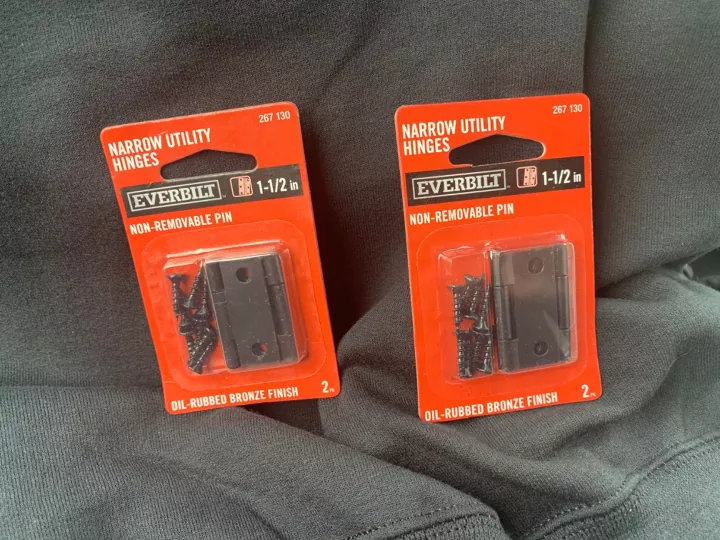
Next, I went to Home Depot and bought four 1 1/2” utility hinges, which cost me about $5.00.

When I got back home, I laid the cutting boards out next to each other the way I wanted them to look. Then, I flipped them over to the back side. On each side of the middle board, I attached two hinges. I made sure to put them about 1 1/2” to 2” away from the top and bottom edges of the boards. Before I screwed in the hinges, “I drilled small pilot holes first to avoid any wood splintering.”

And that was it! “Project complete!”
I’m really happy with how it turned out! Using the wooden cutting boards gives me surfaces that are “very easy to clean,” which is important because, as I said before, this corner gets a lot of use. This little screen that I made is also “adjustable to accommodate something wider if necessary,” which is a nice bonus. And because “it is not permanently installed so it can be removed or relocated quite easily,” it’s very flexible.
Once I found the cutting boards that I liked, the whole project didn’t take very long at all. At one point, I had thought about “buying unfinished wood and cutting, sanding, staining, etc…” to make something similar. While that probably would have worked out in the end, using the cutting boards was definitely a “more time efficient solution” and gave me something that looks good and will last a long time – “a more durable, more aesthetically pleasing result.”