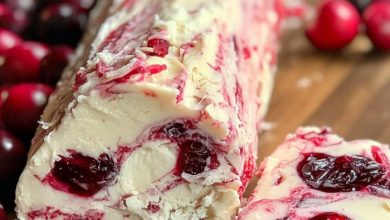
Combining the creamy richness of cheesecake with the fruity burst of cherries.
This Cherry Cheesecake Fluff is a magnificent, velvety confectionery masterpiece that transforms classic diner-style baking elements into an elite, cloud-like dessert luxury without ever turning on your oven. By whipping rich cream cheese with a smooth canopy of sweetened condensed milk and gently folding it into an airy cloud of whipped topping and vibrant, sweet cherry pie filling, you construct a flawless dessert matrix. Chilled to perfection inside the refrigerator, this sweet no-bake staple sets beautifully, delivering a premium, nostalgic presentation with absolute minimal kitchen labor.
ADVERTISEMENT
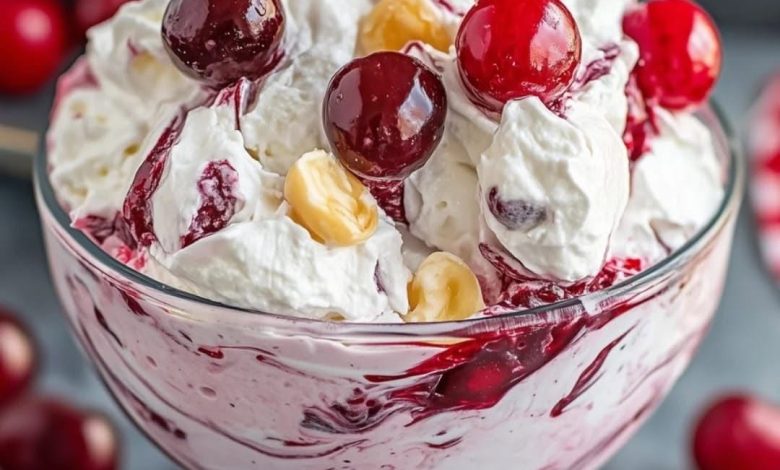
Cherry Cheesecake Fluff
Ingredients:
| Ingredient | Quantity |
| Cream cheese (softened to room temperature) | 8 / oz |
| Sweetened condensed milk | 14 / oz |
| Whipped topping | 8 / oz |
| Cherry pie filling | 21 / oz |
| Additional cherries | Optional (for / garnish) |
Step-by-Step Directions:
Step 1: Beat the Cheesecake Foundation: In a large mixing bowl, drop in your 8 oz of softened room-temperature cream cheese. Beat the cheese vigorously using a hand mixer or wooden spoon until it is completely smooth, creamy, and free of any stubborn dairy lumps.
ADVERTISEMENT
Step 2: Unify the Sweet Velvet Matrix: Gradually pour your 14 oz of sweetened condensed milk into the cream cheese base in small streams, mixing exceptionally well after each addition. This slow integration guarantees a uniform, velvety texture that forms the rich cheesecake backbone of the dessert.
ADVERTISEMENT
Step 3: Build the Fluffy Canopy: Tumble your 8 oz of whipped topping directly into the cream cheese matrix. Using a silicone spatula, slowly and gently fold the topping in.
Tip: Do not whip or stir aggressively during this step! Rough handling will collapse the vital air pockets inside your whipped topping, turning your light, cloud-like fluff into a heavy, flat liquid.
Step 4: Swirl the Cherry Veil: Add your 21 oz of glossy cherry pie filling to the bowl. Stir with a very gentle, sweeping motion just until the bright red cherries are evenly suspended throughout the white cream. Be careful not to overmix so you maintain beautiful, distinct ribbons of cherry fruit running through the fluff.
Step 5: The Essential Setting Chill: Transfer the fluffy mixture into a large elegant serving dish or divide it into individual dessert cups. Cover tightly with plastic wrap and slide it into the refrigerator for at least 2 / hours. This cooling window is strictly non-negotiable, as it allows the hot dairy fats to firm up and lets the tart cherry juices meld beautifully with the sweet cream base.
Step 6: Garnish and Serve Chilled: Pull the set dessert from the refrigerator. If desired, canopy the top with a few additional fresh or glazed cherries for an elite, colorful presentation. Serve cold straight from the fridge!