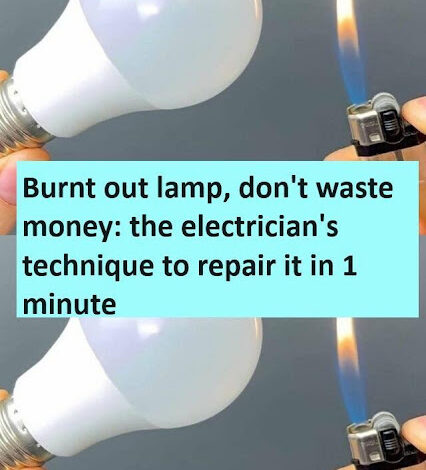
Burnt lamp, don’t waste money: the electrician’s technique to repair it in 1 minute
Dealing with a burnt-out light bulb is a common household issue, but what if you could repair it in under a minute? In this article, we’ll unveil a simple yet effective technique used by electricians. No need to call for professional help – save both money and time with this DIY solution.
ADVERTISEMENT
Why Do Bulbs Burn Out?
Understanding the causes behind a burnt-out bulb is crucial. Factors such as high voltage, frequent on-off cycles, or faulty connections can lead to the demise of your light bulb. This article delves into the reasons and, more importantly, how to fix the issue without spending a fortune.
ADVERTISEMENT
Common Causes
- High Voltage Issues
- Exploring the impact of elevated power supply on light bulbs.
- Frequent On-Off Cycles
- Unveiling the dangers of excessive switching and its consequences.
- Faulty Connections
- Highlighting the importance of securely connecting bulbs to sockets.
The Electrician’s Method
Discover the step-by-step process electricians use to swiftly and efficiently repair burnt-out light bulbs.
ADVERTISEMENT
Materials Needed
- Small screwdriver
- Electrical tape
- LED wire
- Needle-nose pliers
Step 1: Safety First
Ensure the lamp is switched off before beginning the repair process for a safe operation.
Step 2: Remove the Broken Bulb
Use a screwdriver to carefully detach the broken LED bulb from the lamp. Caution is key to avoid injuries.
Step 3: Extract the Filament
With needle-nose pliers, delicately remove the filament from the damaged bulb.
Step 4: Replace with LED String
Substitute the old filament with a new LED string purchased from a reliable hardware store. Secure it in place with adhesive tape.
Step 5: Reassemble
Insert the repaired bulb back into the lamp and power it on. Witness the repair in under two minutes.