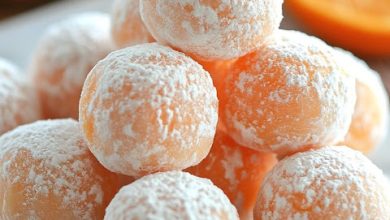
Angel Biscuits
1 minute read

Discover the ethereal delight of Angel Biscuits with our heavenly recipe. These light, fluffy treats are sure to elevate your baking game and leave your taste buds singing. Follow along as we guide you through the steps to create your own cloud-like creations.
ADVERTISEMENT
Prepare to embark on a culinary journey with the following ingredients:
ADVERTISEMENT
| Ingredient | Amount |
|---|---|
| All-purpose flour | 5 cups |
| Sugar | 1/4 cup |
| Baking soda | 1 teaspoon |
| Baking powder | 3 teaspoons |
| Salt | 2 teaspoons |
| Active dry yeast | 1 package (1/4 ounce) |
| Warm water | 1/4 cup (110 to 115 degrees F) |
| Shortening | 1 cup |
| Buttermilk | 2 cups |
| Melted butter | For brushing |
Instructions for Making Angel Biscuits
ADVERTISEMENT
Follow these step-by-step instructions to achieve biscuit perfection:
- Prepare the Dough: In a large mixing bowl, combine the flour, sugar, baking soda, baking powder, and salt. Set aside.
- Activate the Yeast: In a small bowl, dissolve the yeast in warm water and allow it to foam, indicating activation.
- Incorporate Shortening: Using a pastry cutter or your fingers, blend the shortening into the flour mixture until it forms coarse crumbs.
- Combine Ingredients: Stir the activated yeast mixture and buttermilk into the flour mixture until thoroughly combined. The dough should have a sticky consistency.
- Knead the Dough: Turn the dough out onto a floured surface and knead gently for a minute or two until it comes together.
- Shape the Biscuits: Roll out the dough to approximately 1/2-inch thickness and cut with a biscuit cutter. Place the cut biscuits on a greased baking sheet, cover, and allow them to rise in a warm place for about 30 minutes, or until nearly doubled in size.
- Preheat the Oven: Preheat your oven to 400 degrees F in preparation for baking.
- Bake to Perfection: Once risen, bake the biscuits for 12-15 minutes, or until they achieve a golden brown hue on top.
- Add Finishing Touches: Remove the biscuits from the oven and brush the tops with melted butter for a delectable finishing touch.
Post Views: 306
1 minute read