Getting Your Hydrangeas Ready for Amazing Spring Flowers – A Simple Guide to Pruning
As the weather starts to warm up, it’s a great time to get back into the garden and take care of our plants. One of the tasks I really enjoy is getting my pruning shears ready to tidy up the garden from last year’s growth. Today, I want to share my simple method for pruning hydrangeas to encourage the most beautiful blooms in the springtime, and also point out some common mistakes to avoid. Trust me, I’ve learned these lessons firsthand!
ADVERTISEMENT
Here in Texas, I usually start to see fresh, new growth on my hydrangea plants around the month of March. Depending on where you live and your specific climate zone, this new growth might appear a little earlier or later. But for me, this time of year is the ideal moment for “Spring pruning hydrangeas.” In the past, I made the mistake of trying to prune them in the fall, and every single time I did that, it actually stopped or “stunted the blooms.” (insert unhappy face) Do you want to know the reason for this? Well, the majority of the flowers appear on the new stems that grow in the current season. While it’s true that “some varieties will also bloom on old-growth,” I’ve personally “found that this works best” for the types I have. It can sometimes feel like “a real guessing game,” so it’s always a good idea to “do some research on your variety before trying this method” to understand its specific blooming habits.
ADVERTISEMENT
Of course, throughout the entire flowering season, I regularly “prune or deadhead old bloom” to keep the plant looking tidy and encourage more flowers. However, today, my focus is “strictly talking about Spring pruning” – the important trimming we do just as the new growth begins.
ADVERTISEMENT
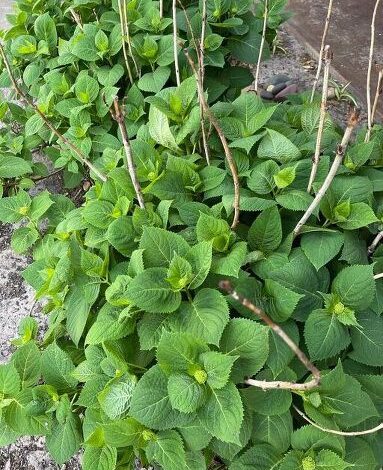
For my own hydrangeas, “I wait until I see the new growth in the Spring.” This year, because “we had such a crazy cold winter,” I was extra cautious and “waited extra long to make sure I didn’t over prune.” Sadly, “many of my plants died this past winter,” but thankfully, “so far, my hydrangeas are looking great” and showing promising signs of new life.
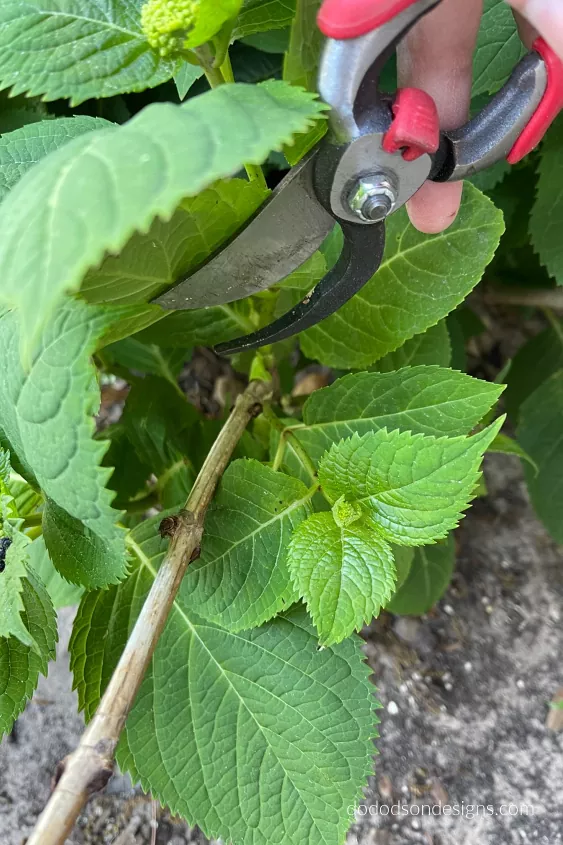
My process starts with identifying the stems that are clearly dead and show no signs of new growth – these are usually quite easy to spot. Then, “run your hand down the stem until you see the first bud or green growth.” This point is crucial because “this is where you’ll start pruning the hydrangea stems.” Sometimes, “I leave a few dead stems in the middle to help support the new growth and snip off the tops.” This might seem counterintuitive, but those taller, leafless stems can actually provide support as the new, heavier growth develops. “Large blooms can really weigh down your bush, and this will give it some stability and help hold up those beautiful blooms.”
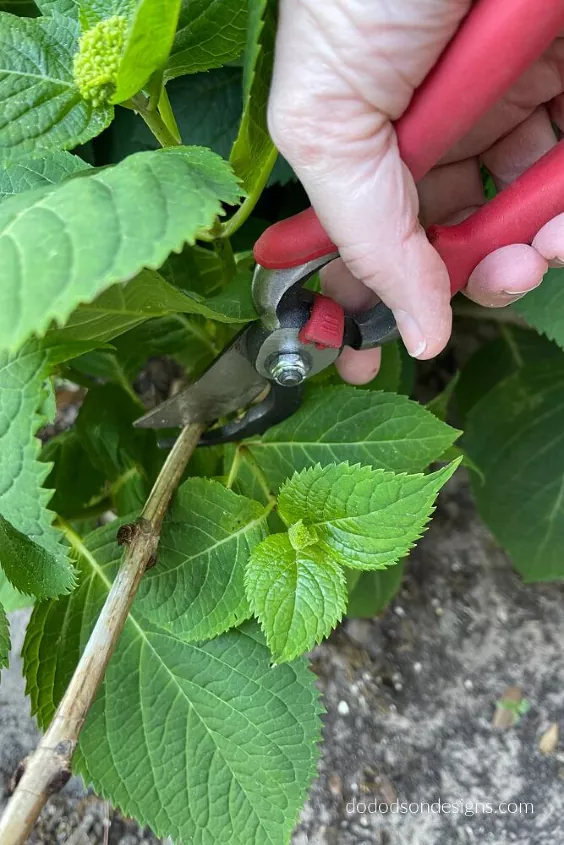
When you make your cuts, “trim away the dead stems but make sure to look for any possible buds above where you cut.” You want to make your cut just above a healthy bud to encourage new growth in the right direction.

Using “this method ensures that the new growth is protected when pruning hydrangeas,” and ever since “I started doing this, my Spring blooms have resulted in large luscious blooms. As big as my head, if you can believe that.” It’s a simple technique that can make a big difference in the health and beauty of your hydrangea display!