Creating a Personalized Window and Shower Area on a Budget
When it came time to put our small condo on the market, I really wanted to give it a more upscale feel with a custom-looking cornice and shower curtain. However, I also needed to be mindful of our budget and didn’t want to spend a lot of money to achieve this.
ADVERTISEMENT
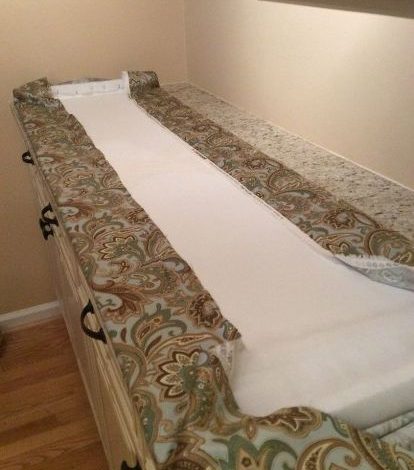
So, I decided to tackle these projects myself, starting with the shower curtain. This turned out to be a fairly simple sewing project. The fabric I chose wasn’t quite wide enough to cover the entire shower area without a seam down the middle, which I wanted to avoid for a cleaner look. To solve this, “I pieced it together in three pieces so there wasn’t a seam down the middle.” I then added “buttonholes at the top for the hooks and it was done.” It was a basic sewing task that made a big difference.
ADVERTISEMENT
ADVERTISEMENT
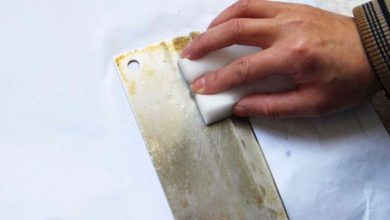
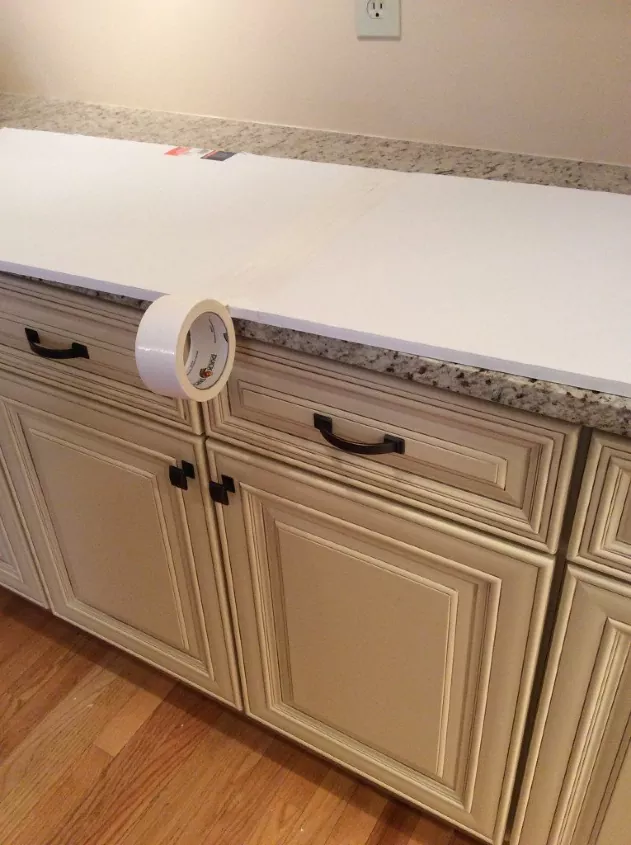
Next, I moved on to creating the cornice. For this, “I used 1/2″ foam core board from a hobby shop and cut it to size.” Finding the right tool to cut this board proved to be a bit of a challenge. “I never found the perfect tool. If anyone has suggestions, let me know! I tried a utility knife, an x-acto knife and a kitchen knife.” The foam core board wasn’t wide enough on its own to create the desired depth for the cornice, so “I pieced it together and taped with duct tape. I made a big X across the seam to reinforce.” This helped to hold the two pieces together securely.

To create the sides of the cornice, “Two, 2″ pieces made the sides, which is how I attached the cornice to the walls.” The method I used for attaching these side pieces was quite simple: “I duct taped the sides on.” This provided a way to mount the lightweight cornice to the wall.
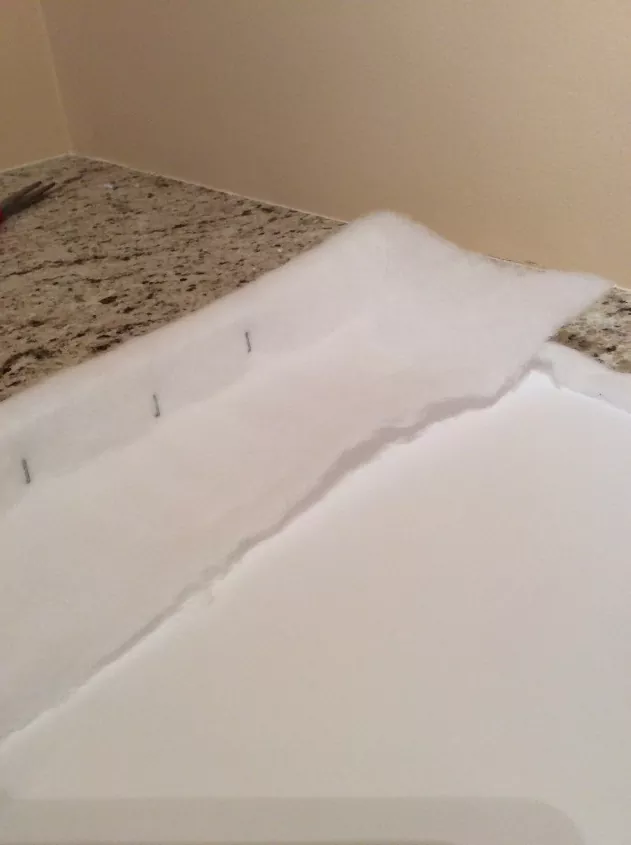
After assembling the basic shape of the cornice, I wanted to give it a softer, more finished appearance. To do this, “Then I stapled batting over the cornice.” I wrapped the batting around the edges to cover the foam core. “I wrapped the ends first and then the top and bottom, but I think you could do it either way.” This layer of batting added some padding and a smoother surface for the fabric.
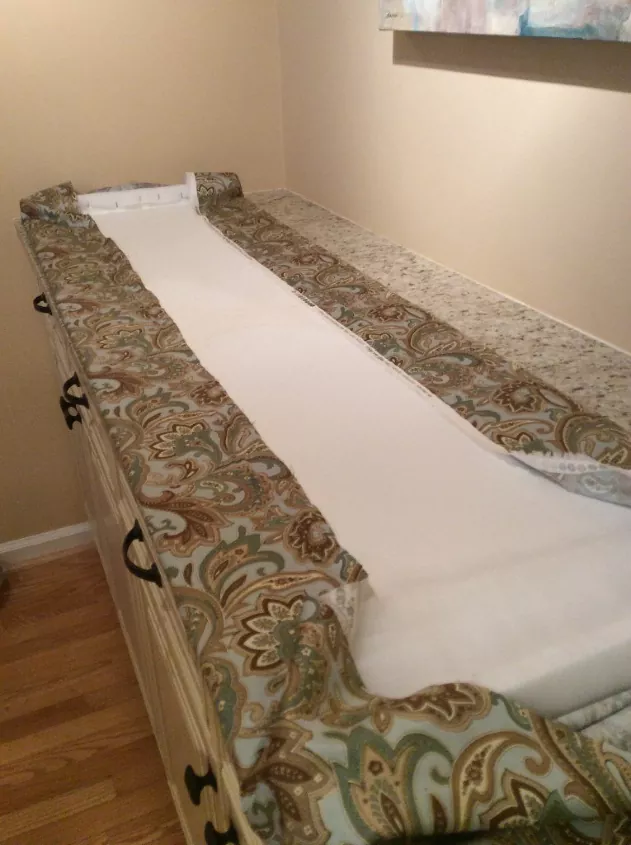
For the final touch, I added fabric to the cornice. “For the fabric I stapled the top and bottom, pulling taut and then the ends.” This ensured the fabric was smooth and wrinkle-free across the front of the cornice. “The corners were a little messy from the back, but I couldn’t see that being a problem.” Since the back wouldn’t be visible, I wasn’t too concerned about the appearance there.
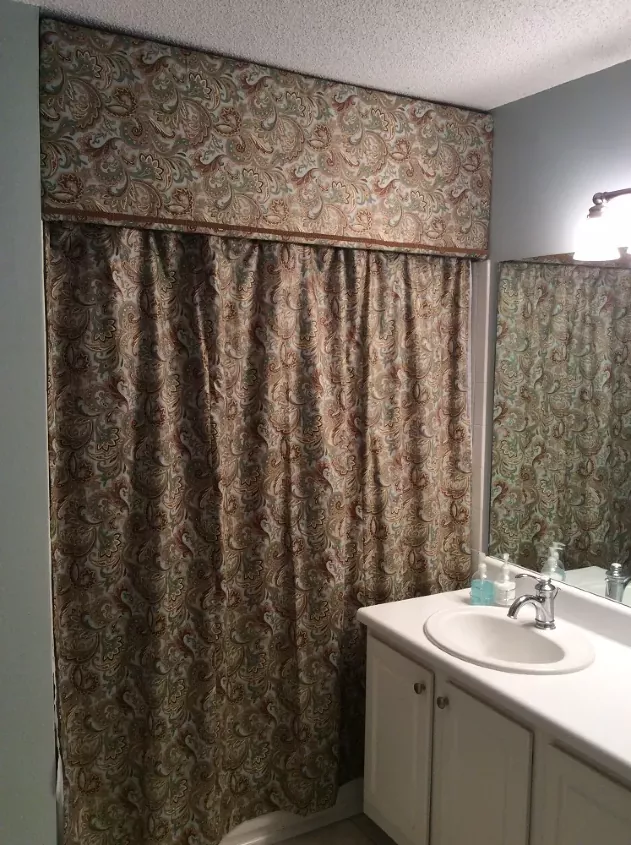
To add a decorative element and further secure the fabric edges, “I attached that brown braid with Fabri-Tak and then nailed the ends to the walls.” The Fabri-Tak adhesive helped to hold the braid in place, and the nails at the ends provided extra security for the lightweight structure. “Since it’s made from foam it was really lightweight,” making it easy to handle and mount.
“That was it!” The shower curtain and cornice were complete. Interestingly, “The condo sold quickly.” While “I’m not saying it was because of the awesome shower curtain and cornice, but it certainly didn’t hurt.” These simple, budget-friendly projects likely contributed to the overall appeal of the condo.