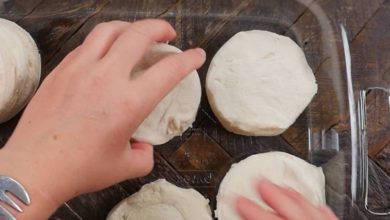
My Amish neighbor brought jars of this stuff over, and I knew I had to copy the recipe!
Imagine the sweet aroma of simmering berries filling your kitchen, a promise of delicious homemade jam to come. This recipe for Slow Cooker Amish Jam offers a remarkably easy way to achieve just that, transforming fresh berries into a vibrant, flavorful preserve with minimal effort. This method leverages the gentle, consistent heat of a slow cooker, allowing the flavors to meld beautifully while freeing you from constant stovetop monitoring. Perfect for both seasoned canners and those new to the world of preserving, this recipe delivers a taste of tradition with a modern twist.
ADVERTISEMENT
Ingredients:
| Ingredient | Quantity |
|---|---|
| Mixed Berries | 4 cups |
| Granulated Sugar | 3 cups |
| Lemon Juice | 1 tablespoon |
| Fruit Pectin | 1 package (1.75 oz) ADVERTISEMENT |
Instructions:
- Preparing the Berries: Begin by carefully washing and hulling the berries. If using strawberries, remove the green caps and cut them into quarters. Smaller berries like raspberries and blueberries can be left whole. This initial step is crucial for ensuring a clean and enjoyable final product.
- Mashing the Magic: Place the prepared berries in the slow cooker. Use a potato masher to gently mash the berries, releasing their natural juices. This helps to kickstart the cooking process and allows the flavors to develop more fully. Don’t over-mash; you want some texture to remain in the finished jam.
- Sweetening the Deal: Add the granulated sugar and lemon juice to the slow cooker, stirring thoroughly to combine. Ensure that the sugar is well distributed among the berries.
- Slow Cooking Bliss: Cover the slow cooker and set it to high heat. Cook for 2 hours, stirring occasionally. The occasional stirring prevents the jam from sticking to the bottom of the slow cooker and ensures even cooking.
- Adding the Thickener: After 2 hours, stir in the fruit pectin. Continue to cook on high for another 30 minutes, stirring frequently. This is the crucial step where the pectin works its magic, thickening the jam to the desired consistency. You’ll notice the jam becoming richer and more translucent.
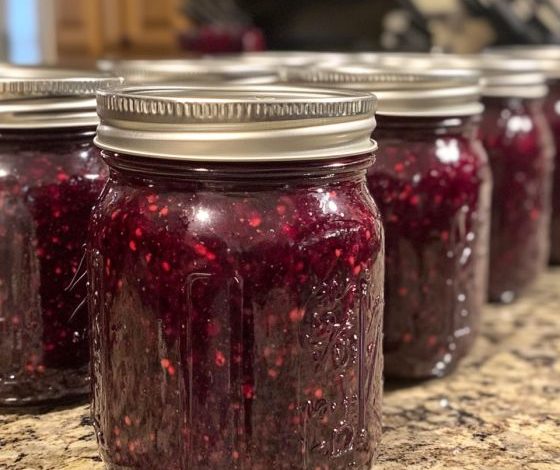
- Jarring the Goodness: Once the jam has reached the desired thickness, carefully ladle it into sterilized jars, leaving about 1/4 inch of headspace. Headspace is essential for creating a proper seal during the canning process.
- Sealing the Deal: Seal the jars with lids and process them in a boiling water bath for 10 minutes. This crucial step ensures a proper seal, preventing spoilage and extending the shelf life of your jam. Follow proper canning procedures for safe and effective preservation.
- Cooling and Storing: Allow the jars to cool completely at room temperature. You should hear a “pop” sound as the lids seal. Once cooled, store the jars in a cool, dark place.