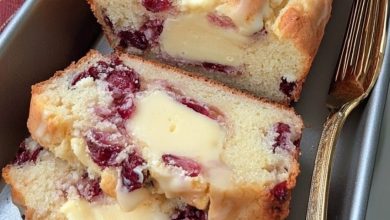
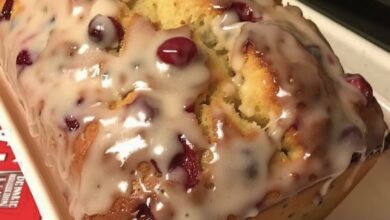
3-Ingredient Cherry Cheesecake Bars
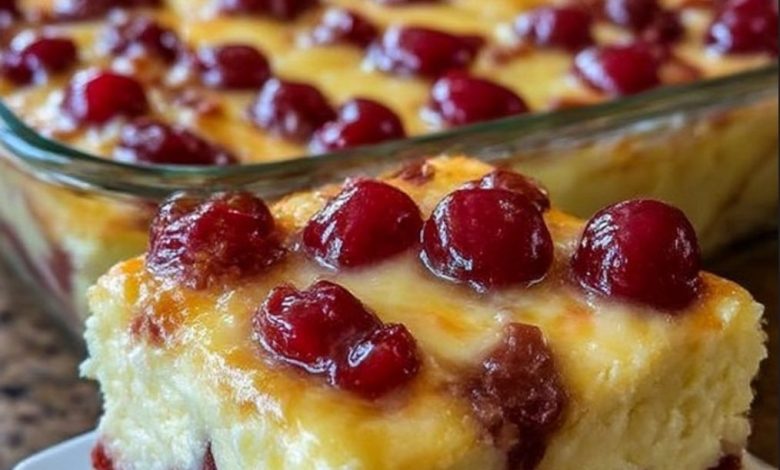
These 3-Ingredient Cherry Cheesecake Bars are the ultimate “shortcut” dessert, relying on the magic of sweetened condensed milk to create a dense, silky cheesecake texture without the need for eggs or flour. By baking the cherry pie filling directly on top of the cream cheese base, you create a beautiful marbled effect where the tart fruit juices slightly permeate the sweet cream. Using a parchment paper “sling” is the pro move here, ensuring you can lift the entire slab out for those perfectly clean, square cuts.
ADVERTISEMENT
Cherry Cheesecake Bars
Ingredients:
| Ingredient | Quantity |
| Cherry pie filling | 1 (21 oz) can |
| Cream cheese (softened) | 2 (8 oz) packages |
| Sweetened condensed milk | 1 (14 oz) can |
Step-by-Step Directions:
Step 1: Prep the Sling: Preheat your oven to 350°F. Line a 9×13-inch baking dish with parchment paper, leaving an overhang on the long sides.
ADVERTISEMENT
Tip: Lightly grease the pan before laying down the parchment. This acts like glue to keep the paper from sliding around while you are trying to spread the thick cream cheese mixture.
ADVERTISEMENT
Step 2: The Creamy Base: In a large mixing bowl, beat the softened cream cheese until it is completely smooth and fluffy (about 2–3 minutes). Gradually pour in the sweetened condensed milk, continuing to beat until the mixture is glossy and free of any tiny white lumps.
Step 3: The Layering: Spread the cream cheese mixture evenly into the bottom of your lined dish. Use the back of a spoon to level it out. Spoon the cherry pie filling over the top and spread it gently to the edges.
Tip: For a “gourmet” look, don’t just spread the cherries flat. Use a butter knife to gently swirl the cherry filling into the top 1/4-inch of the cheesecake layer to create a red-and-white marbled pattern.
Step 4: The Bake: Bake for 25–30 minutes. You are looking for the edges to be puffed and set, while the center still has a slight, uniform “jiggle” when you gently shake the pan.
Step 5: The Deep Chill: Let the bars cool to room temperature on the counter, then move them to the fridge for at least 3 hours (overnight is even better).
Tip: Do not try to slice these while warm! The condensed milk needs that cold environment to fully “set” into a firm, sliceable bar.
Step 6: Lift and Slice: Use the parchment overhang to lift the entire block out of the pan. Place it on a cutting board and use a sharp knife to cut into squares. Wipe the knife clean between every single cut for those professional, sharp edges.